The Hexacabin tutorial
I’ve been wanting to make a hexagon quilt for a long, long time, but I’m not a huge fan of repetitive piecing or hand-stitching. I wracked my brain for a long time about how I could make hexagons my way. I thought about concentric hexagons in one giant design, and last Thursday I made it happen to very satisfying results.
It’s really fun and gets big quickly, which is rare for hexies and quilting in general. So I thought I’d share my technique and get the hexacabin craze on its way.
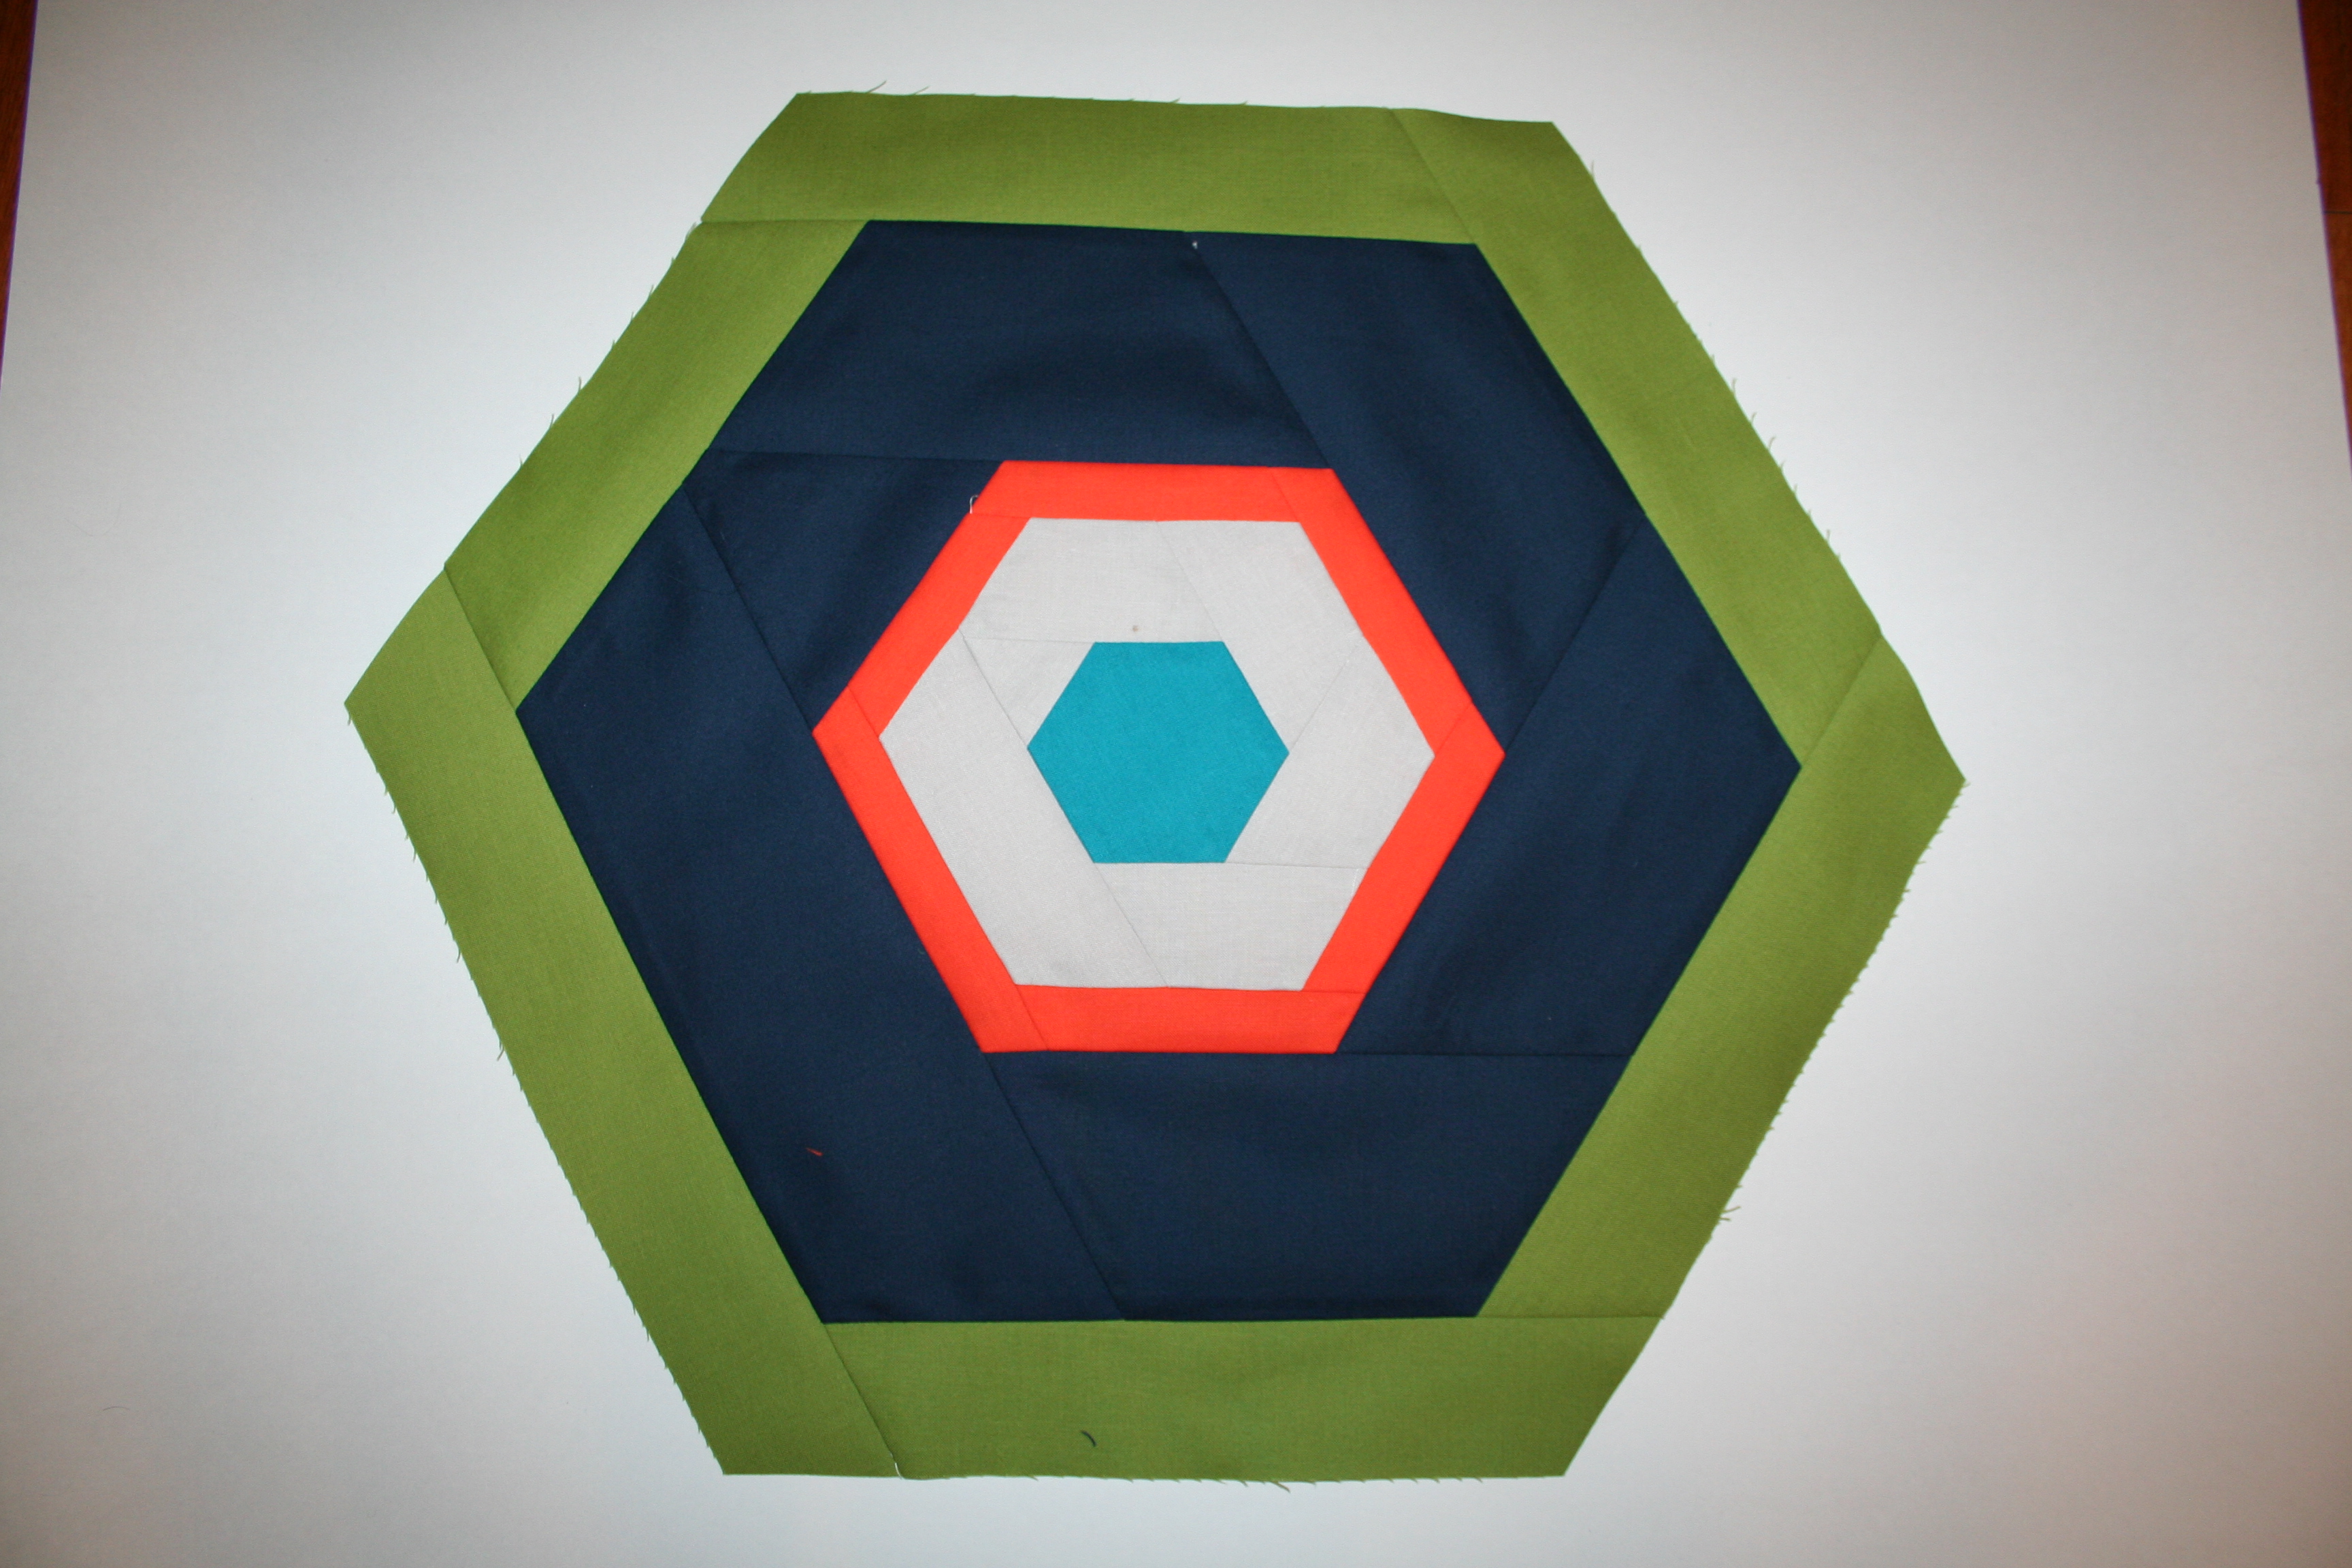
I call this block the hexacabin because it applies log cabin technique to a hexagon shape. This is my tutorial of how to make your own hexacabin quilt top. If you use it, let me know and tag #hexacabin on Instagram so we can all see how you put your own spin on it.
Keep in mind that this is an improvisational process– see how it looks as you go, and make decisions that look right for you. This is not a pattern, just a design guide. I’d love to see a wonky hexacabin or a stripy one.
Requirements: rotary cutter, ruler, iron, fabric strips of varying sizes, hexagon pattern shape. I also used some Elmer’s repositioning glue stick to hold my template in place for cutting. (As your hexacabin gets bigger you’ll need a bigger ruler than the one pictured.)

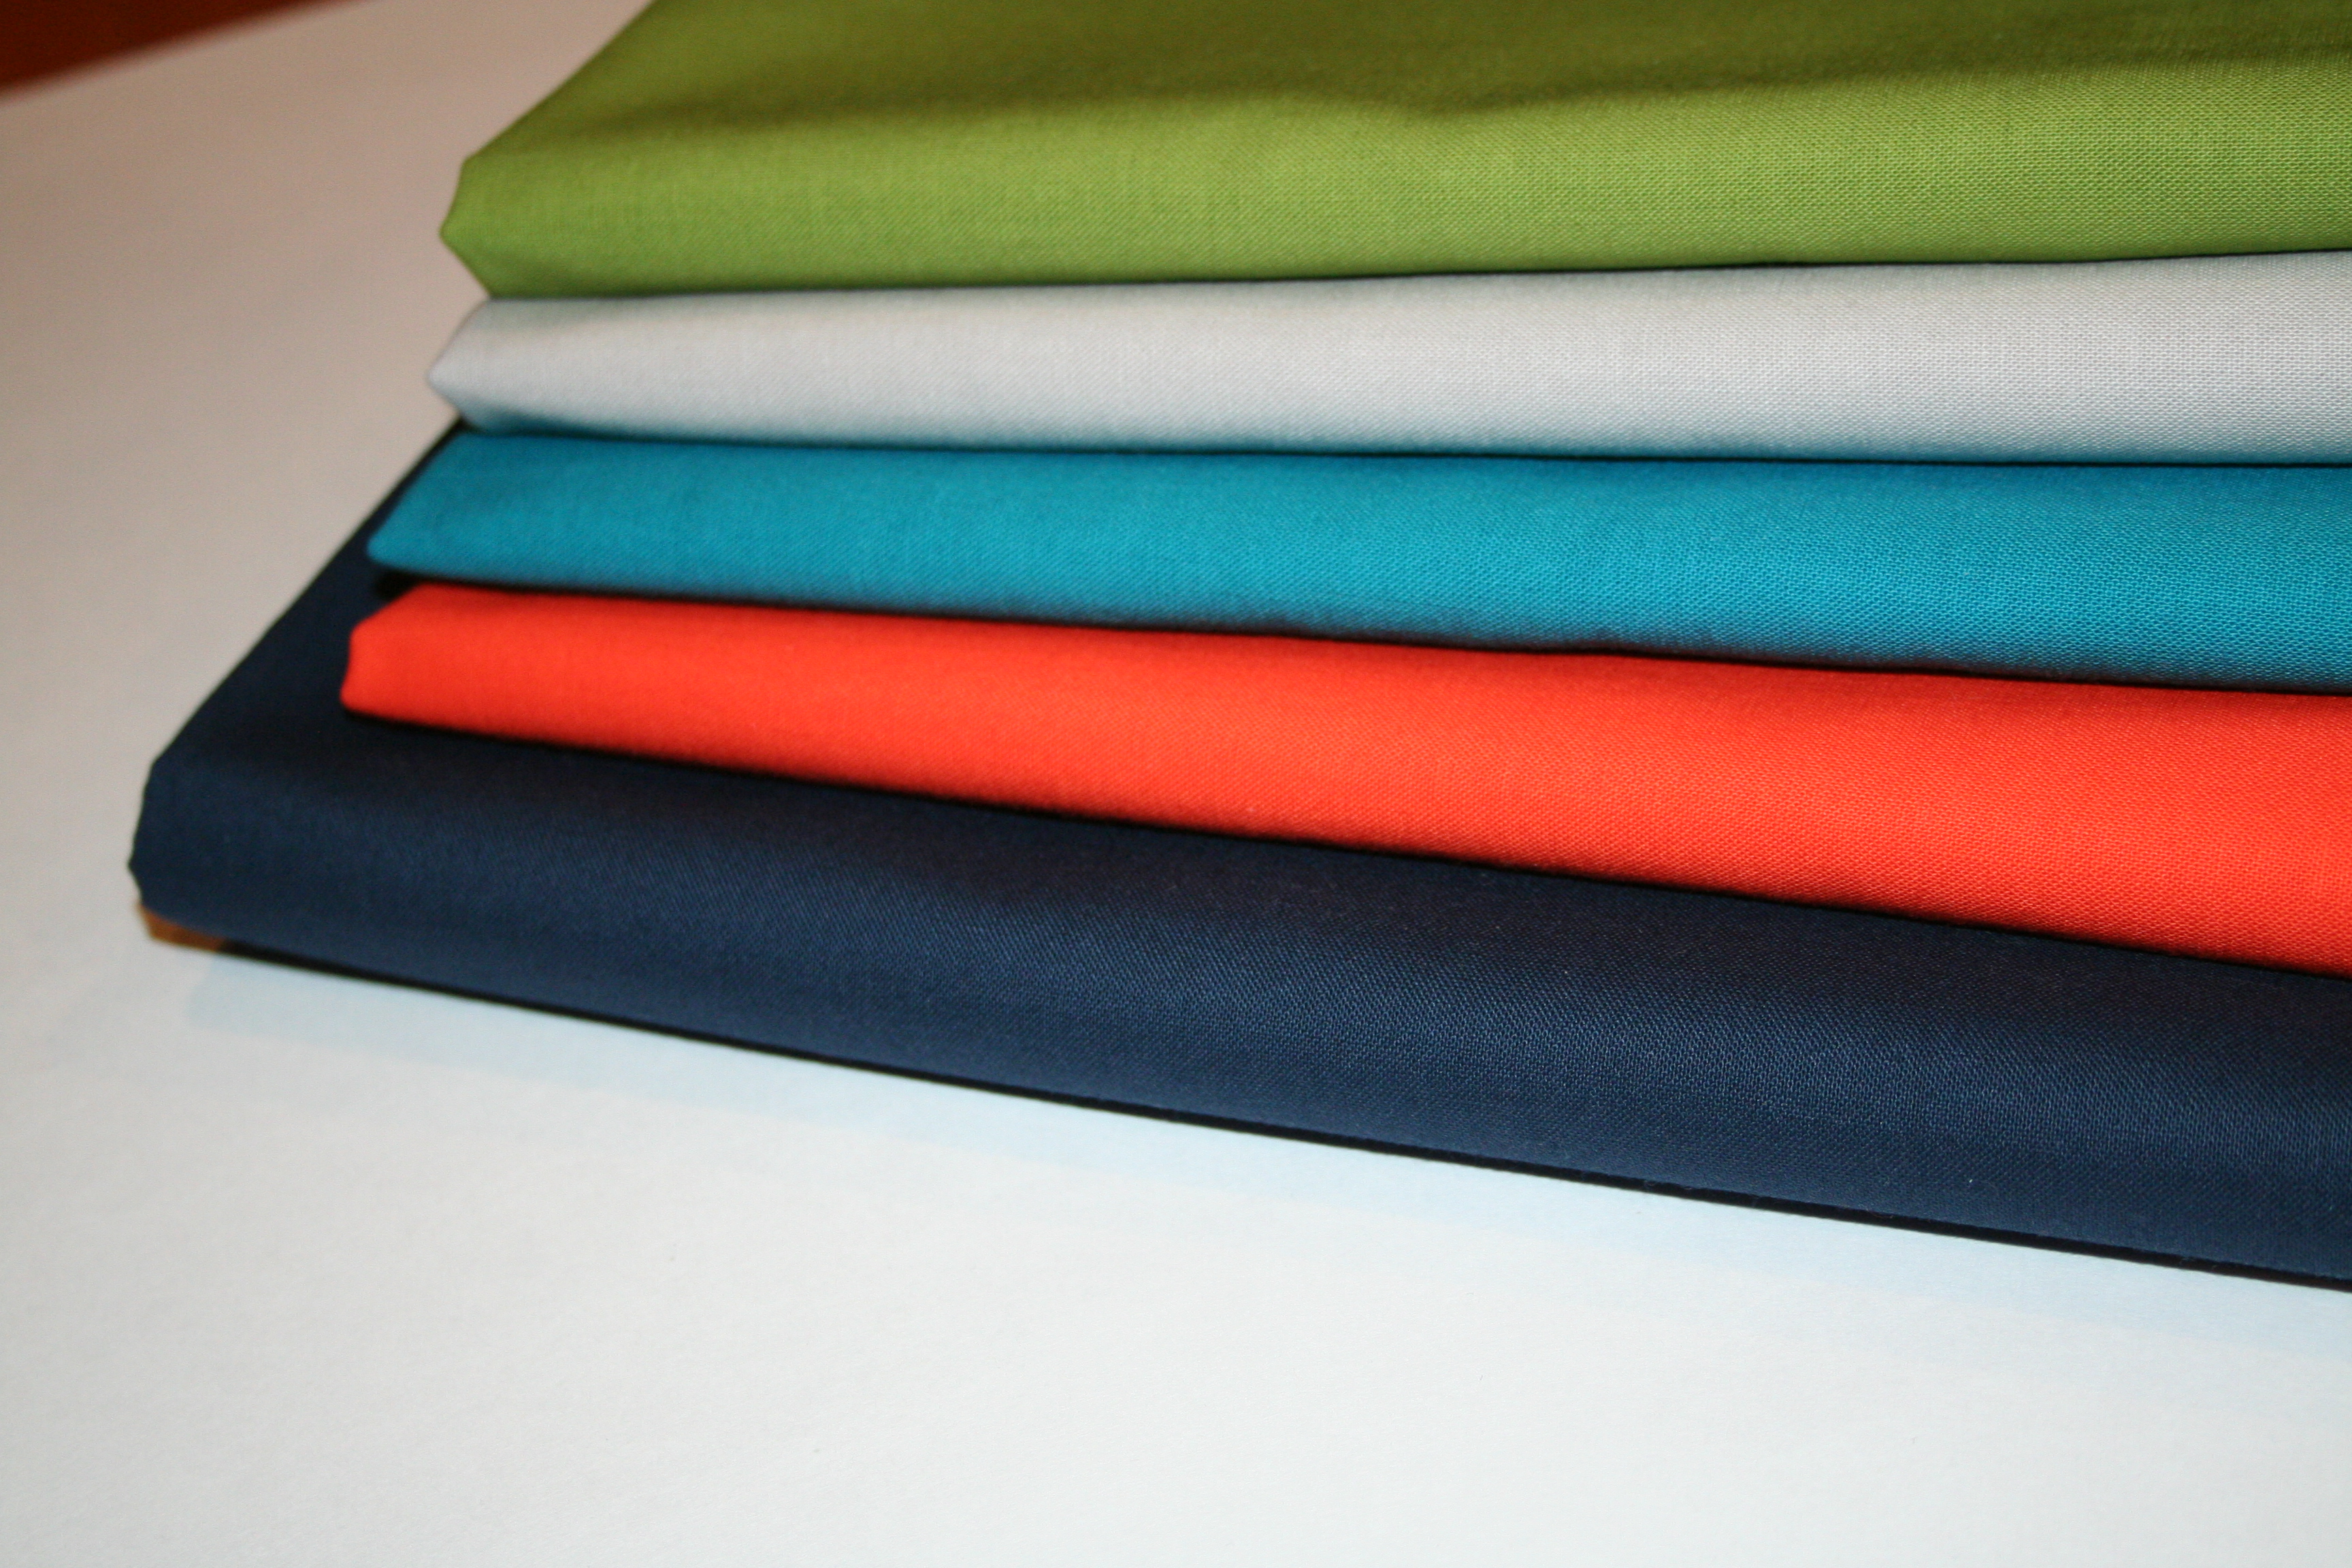
For fabric choices, use solids or small, non-directional prints to unify the rings of piecing (you can see in the original top that piecing is more obvious with bigger prints). I used Kona solids in Peridot, Ash, Caribbean, Tangerine and Navy.
First, start with a hexagon at least three inches wide. I used an English Paper Piecing form and traced it onto a piece of paper, then blew it up 175%. You can also print a shape like this.
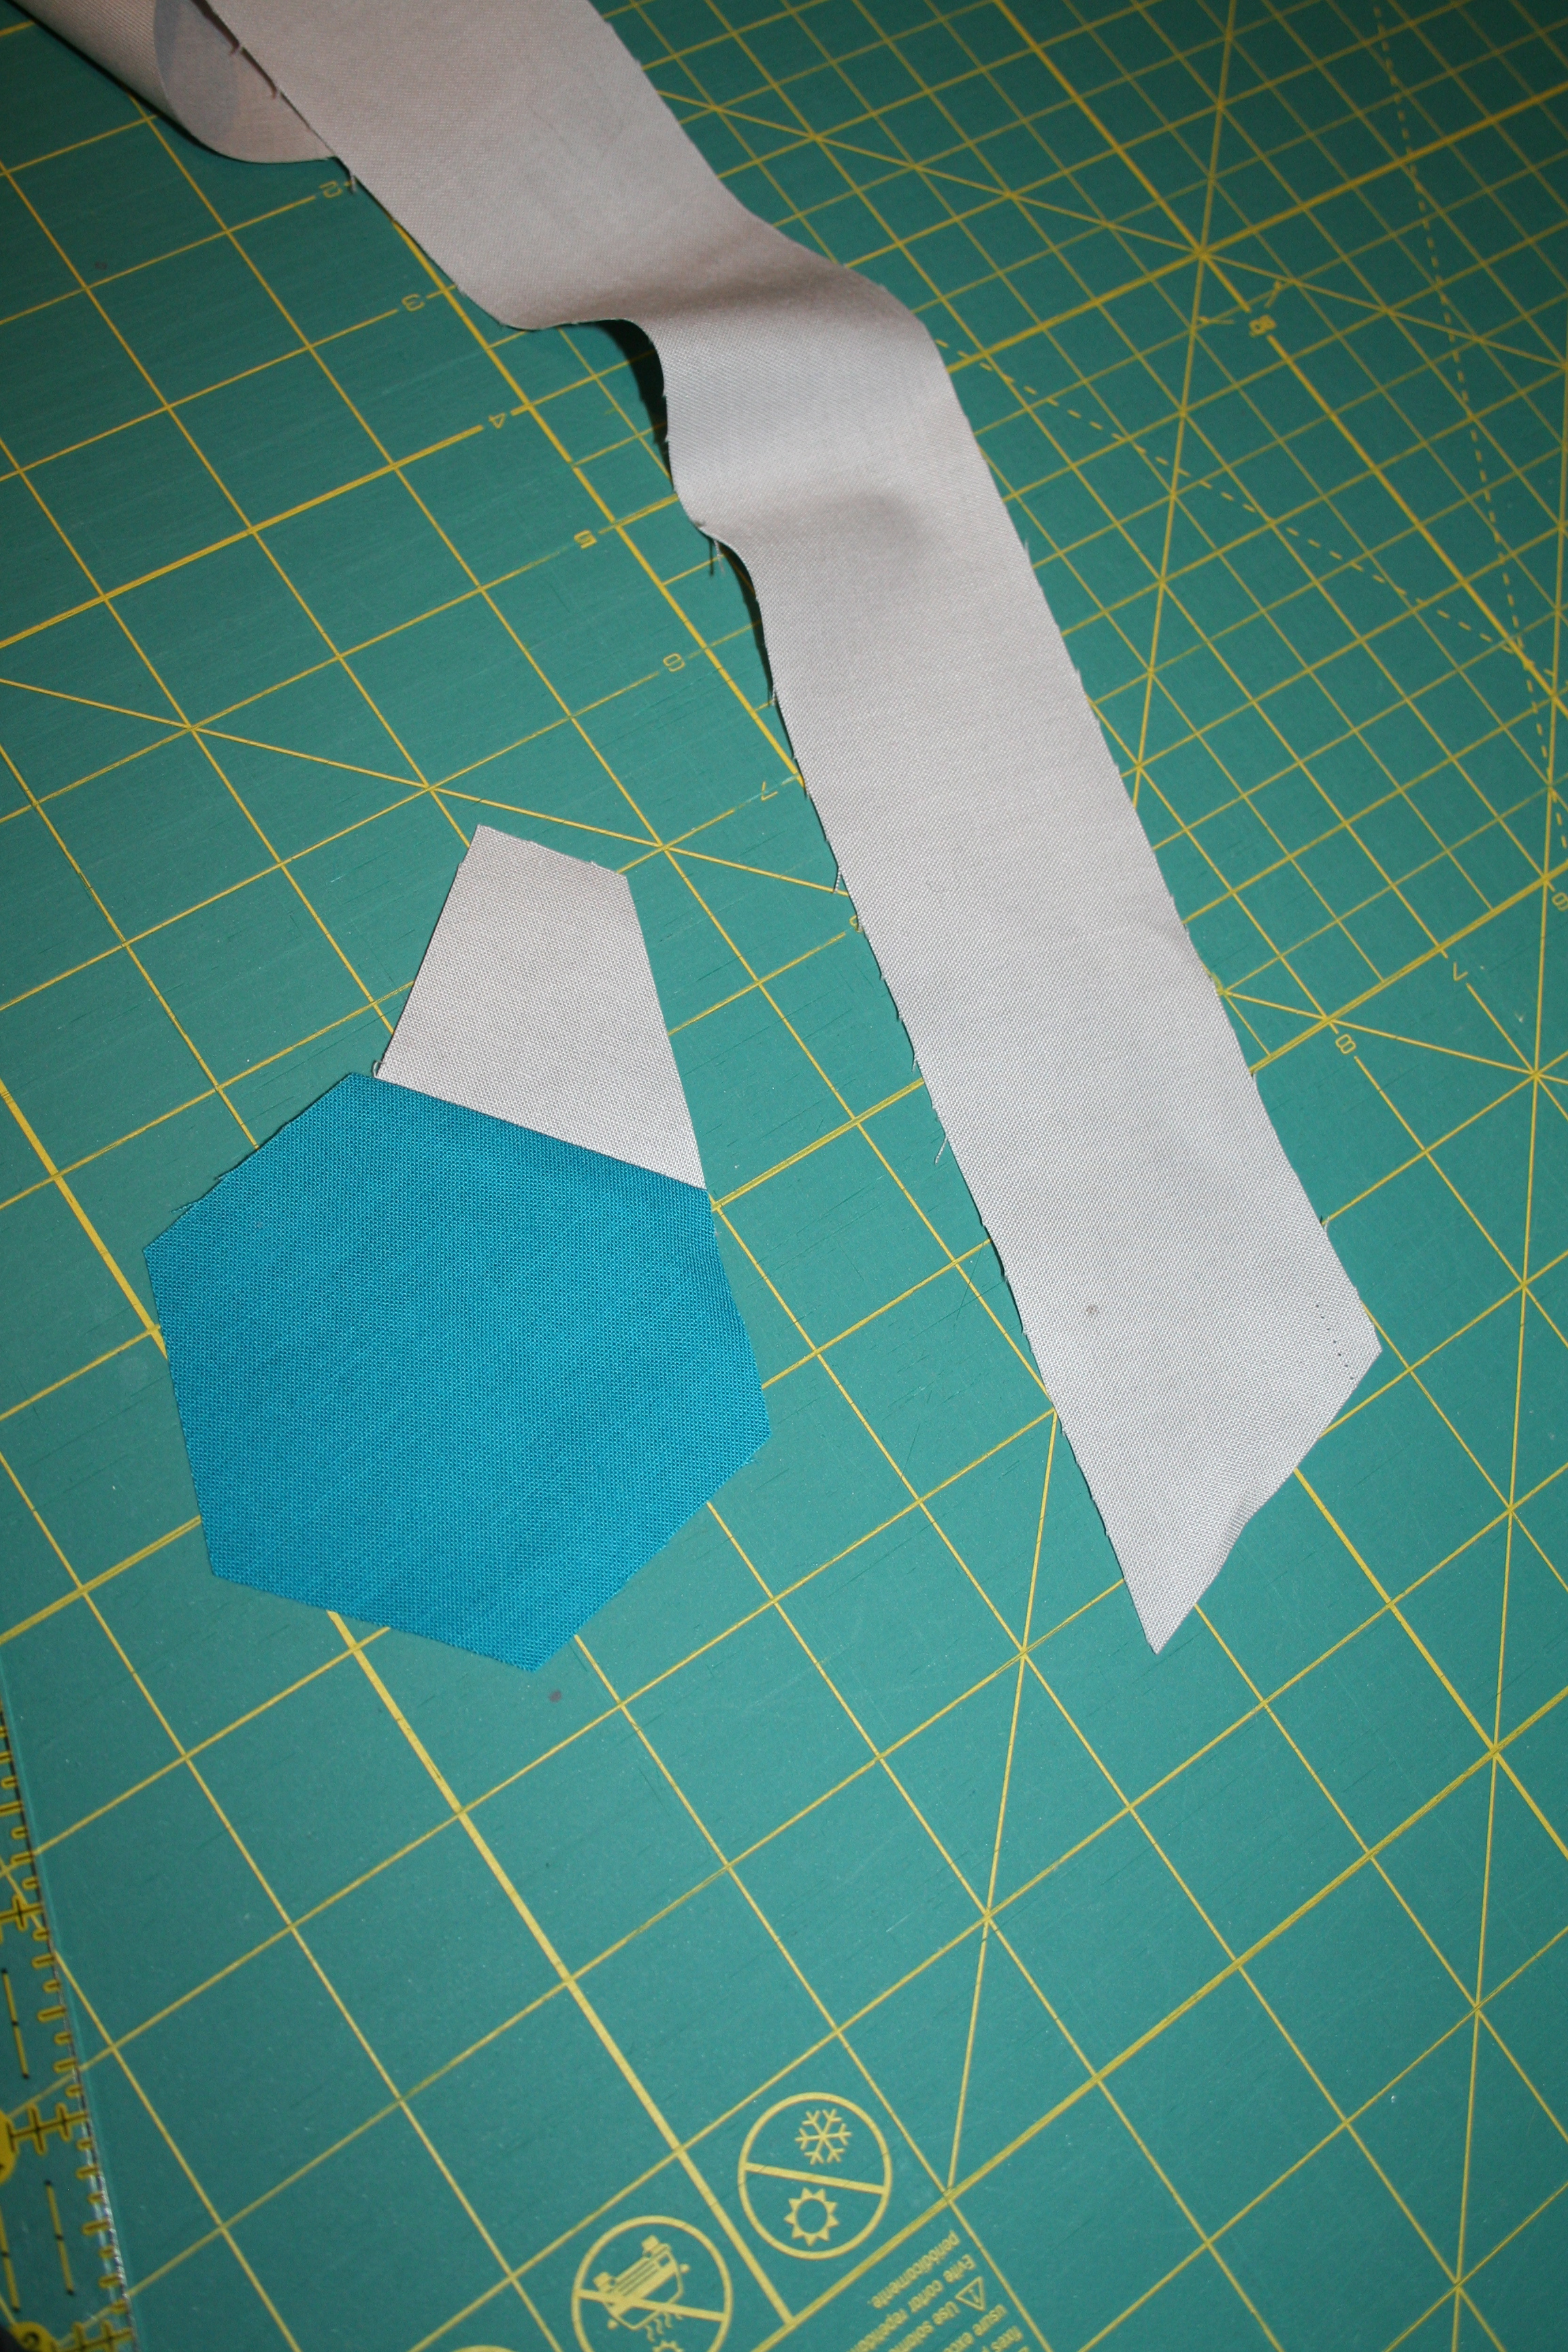
Cut your hexagon using your paper template. This is the center of your hexacabin. Like I said, I used a glue stick to keep the fabric in place on my copy-paper template.
Cut a fabric strip. I used a 2″ x WOF strip for the first ring. As the rings get bigger you might need two WOF strips or multiple strips from a fat quarter.
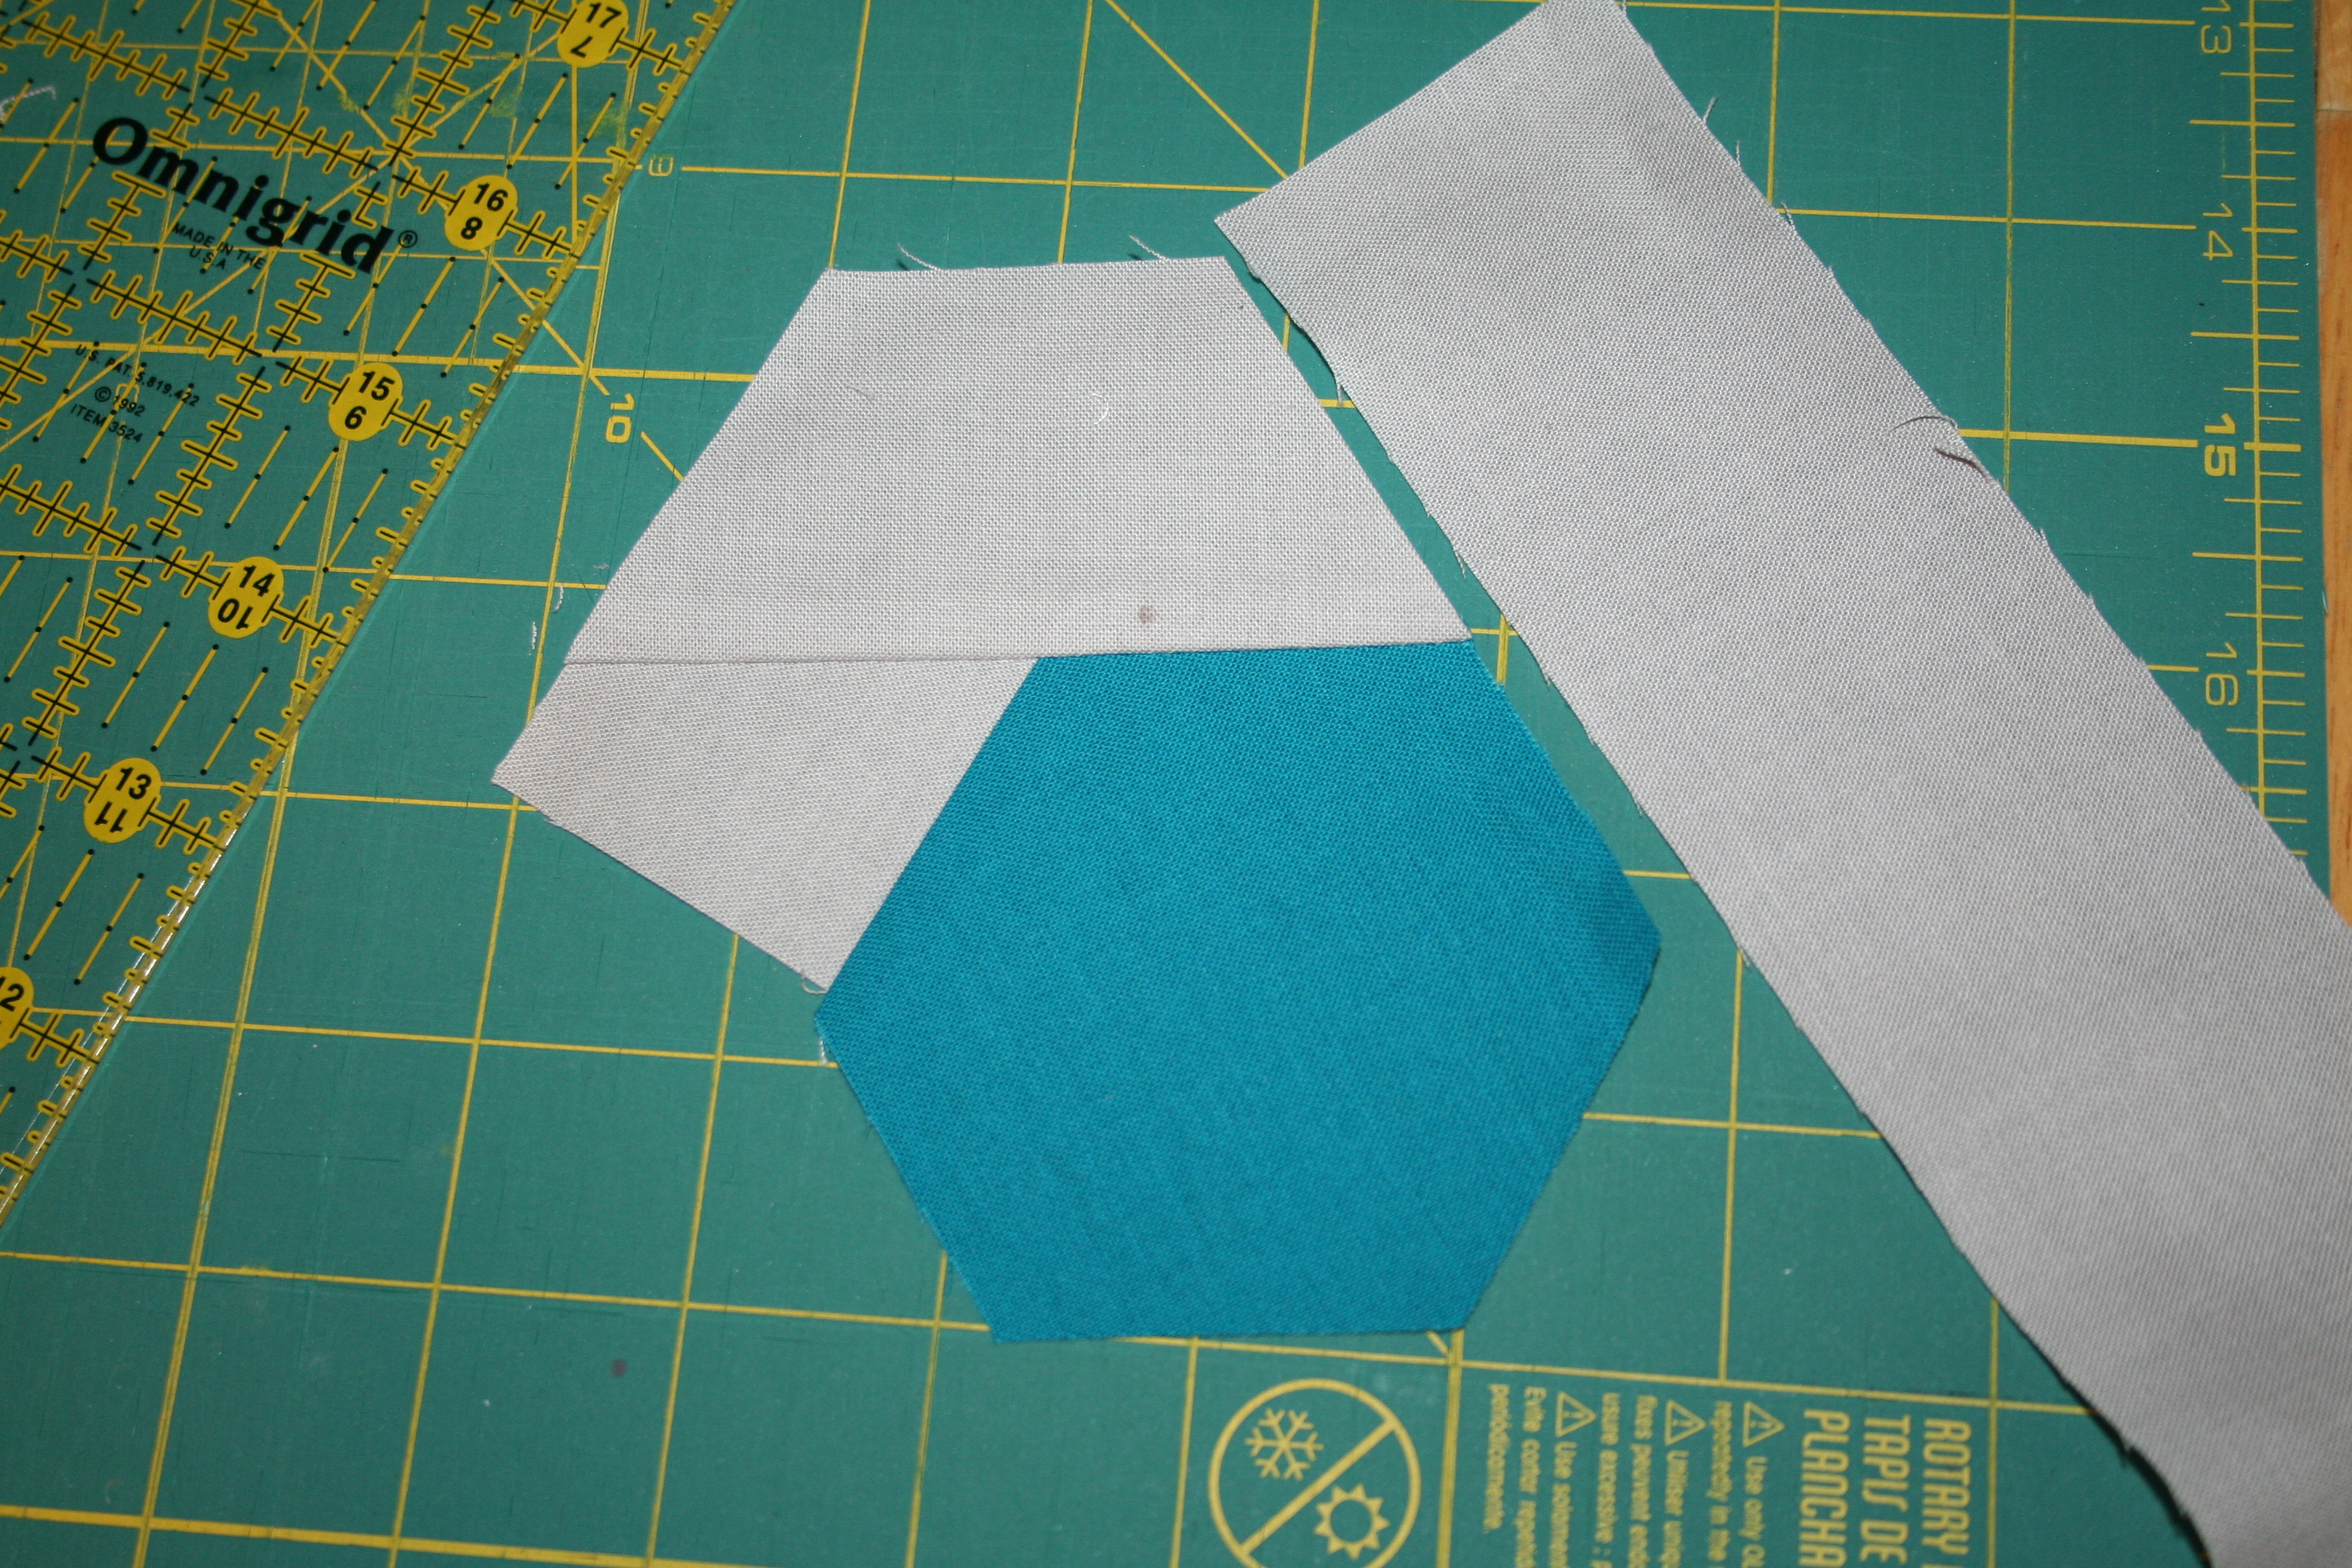
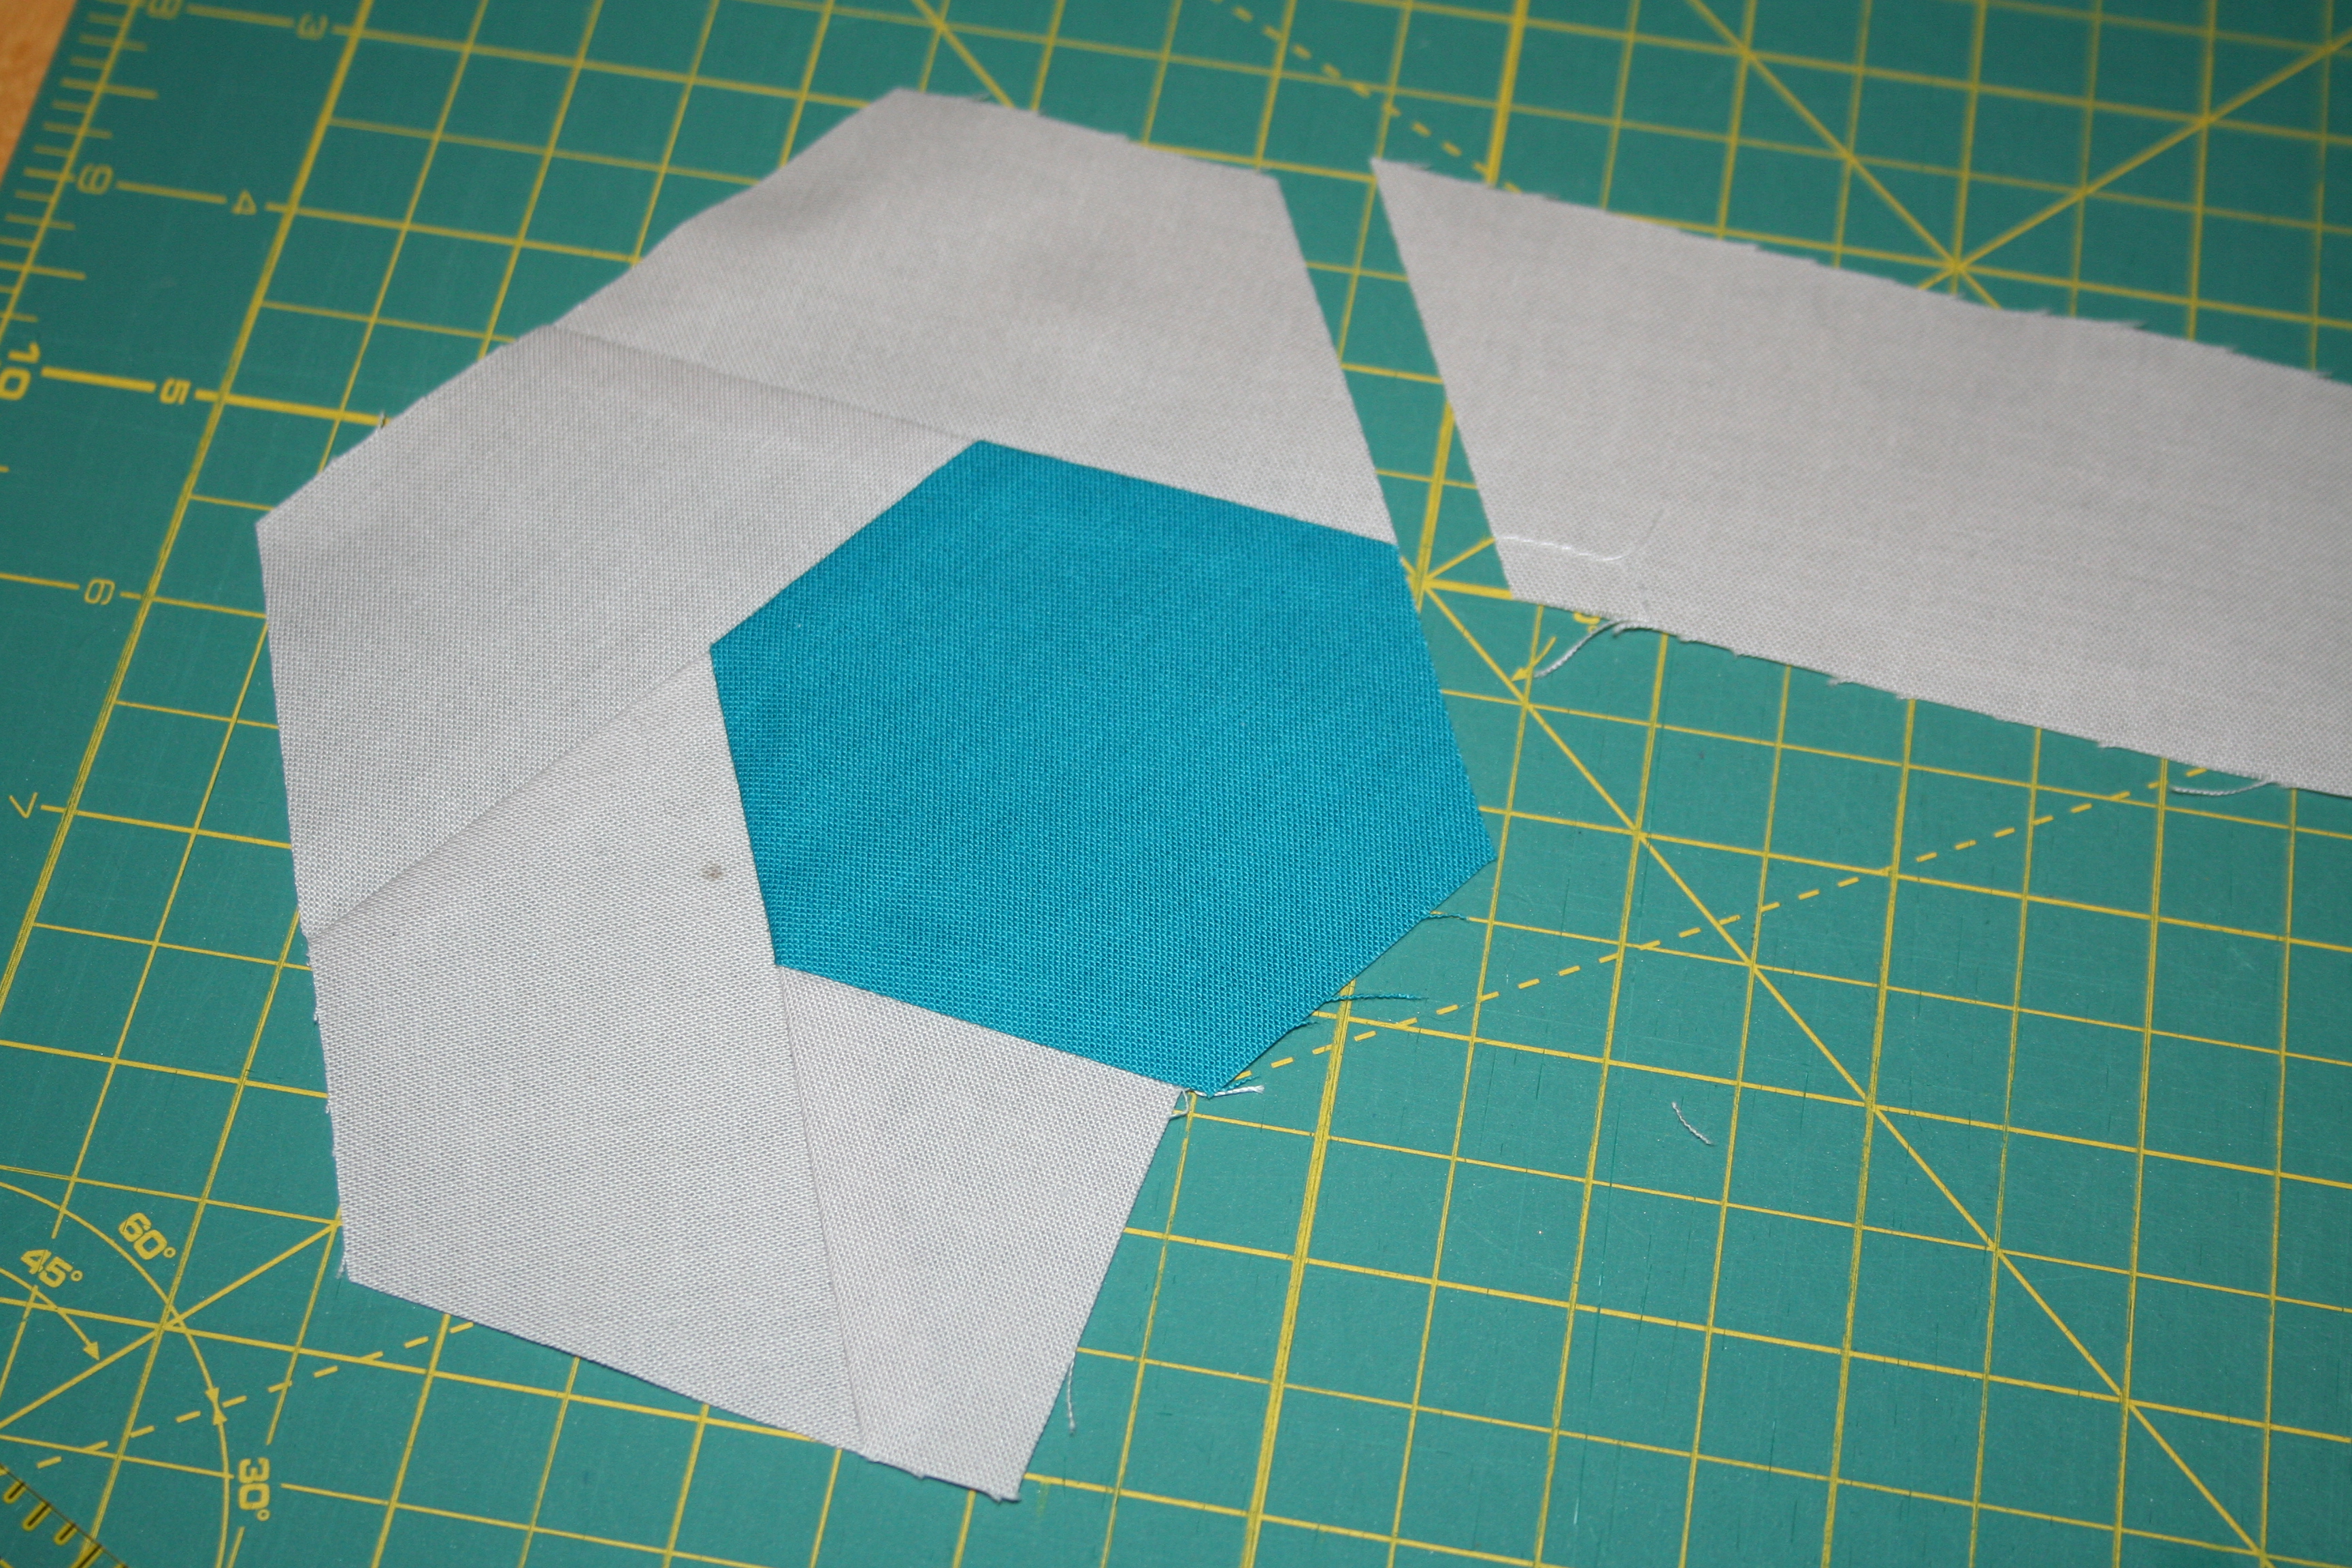
Sew the strip to one side of the hexagon. Make sure that the strip corner is in line with or higher than the hexagon corner (this picture shows it a smidge too low). We need to be sure that there will be enough fabric to make a straight line when trimming the short end of the strip before the last side is sewn.

Press toward the center hexagon.
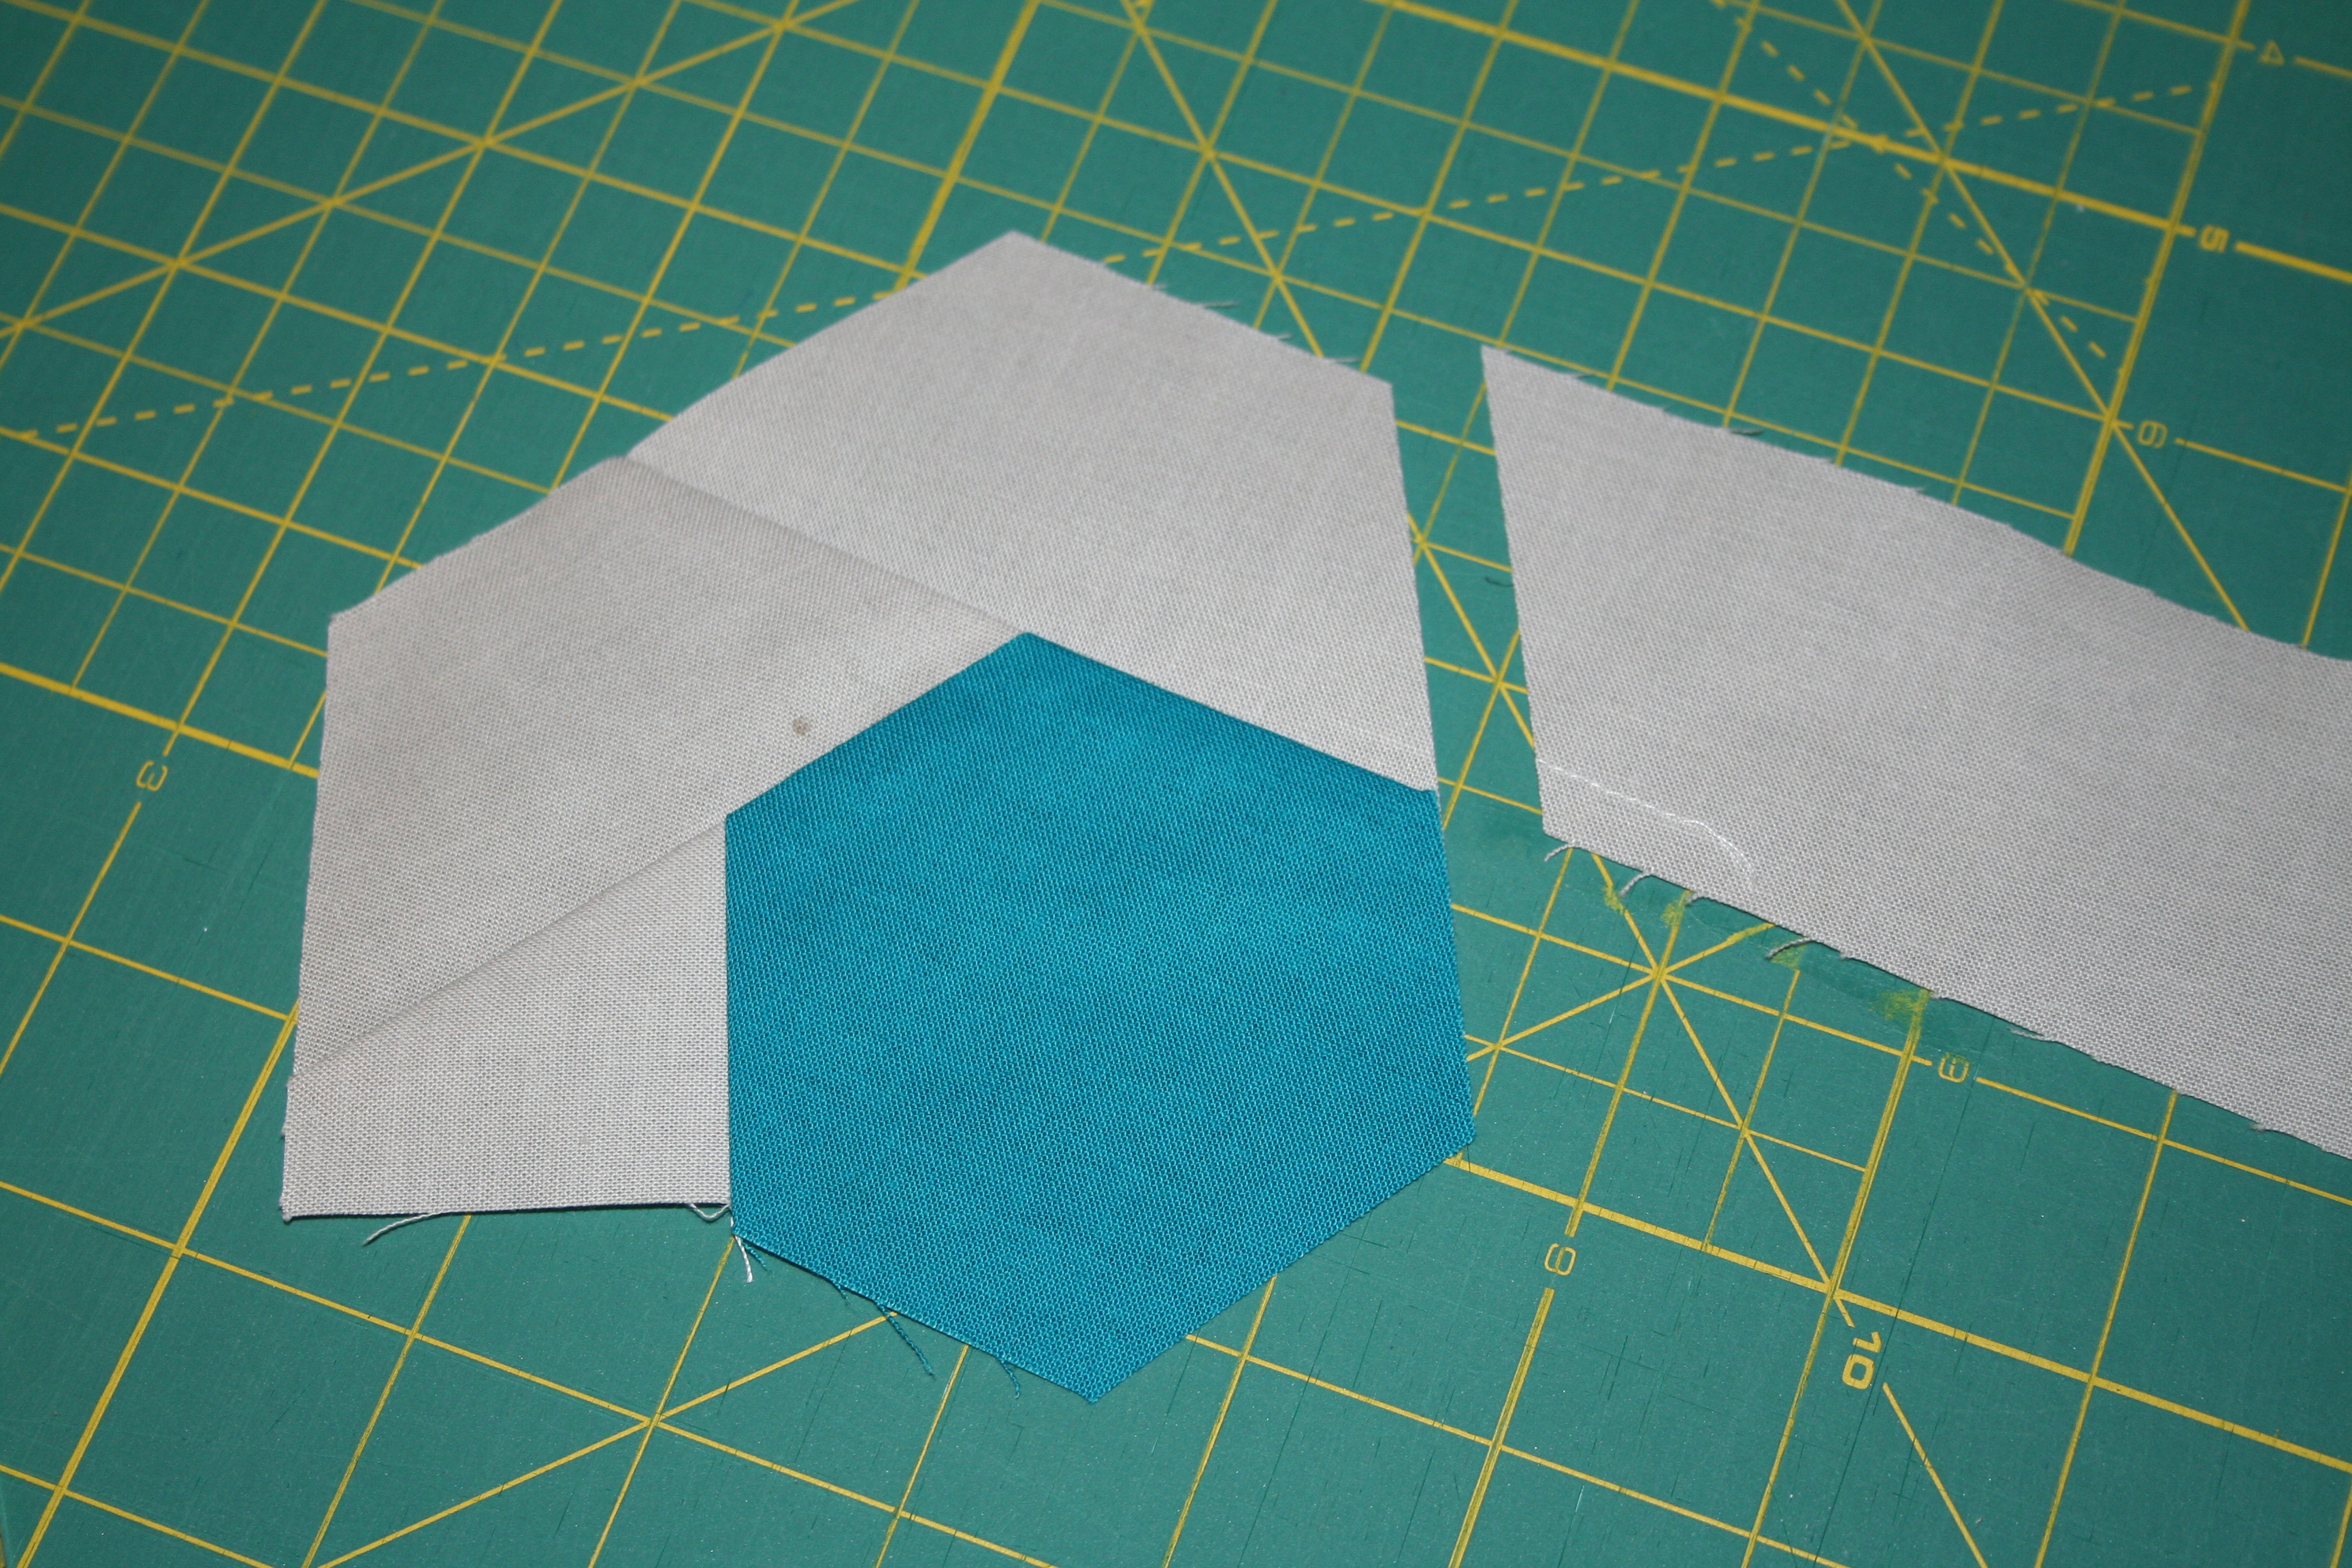
Use your ruler to cut the long part of the strip at an angle, creating a straight line on the side with the long tail.
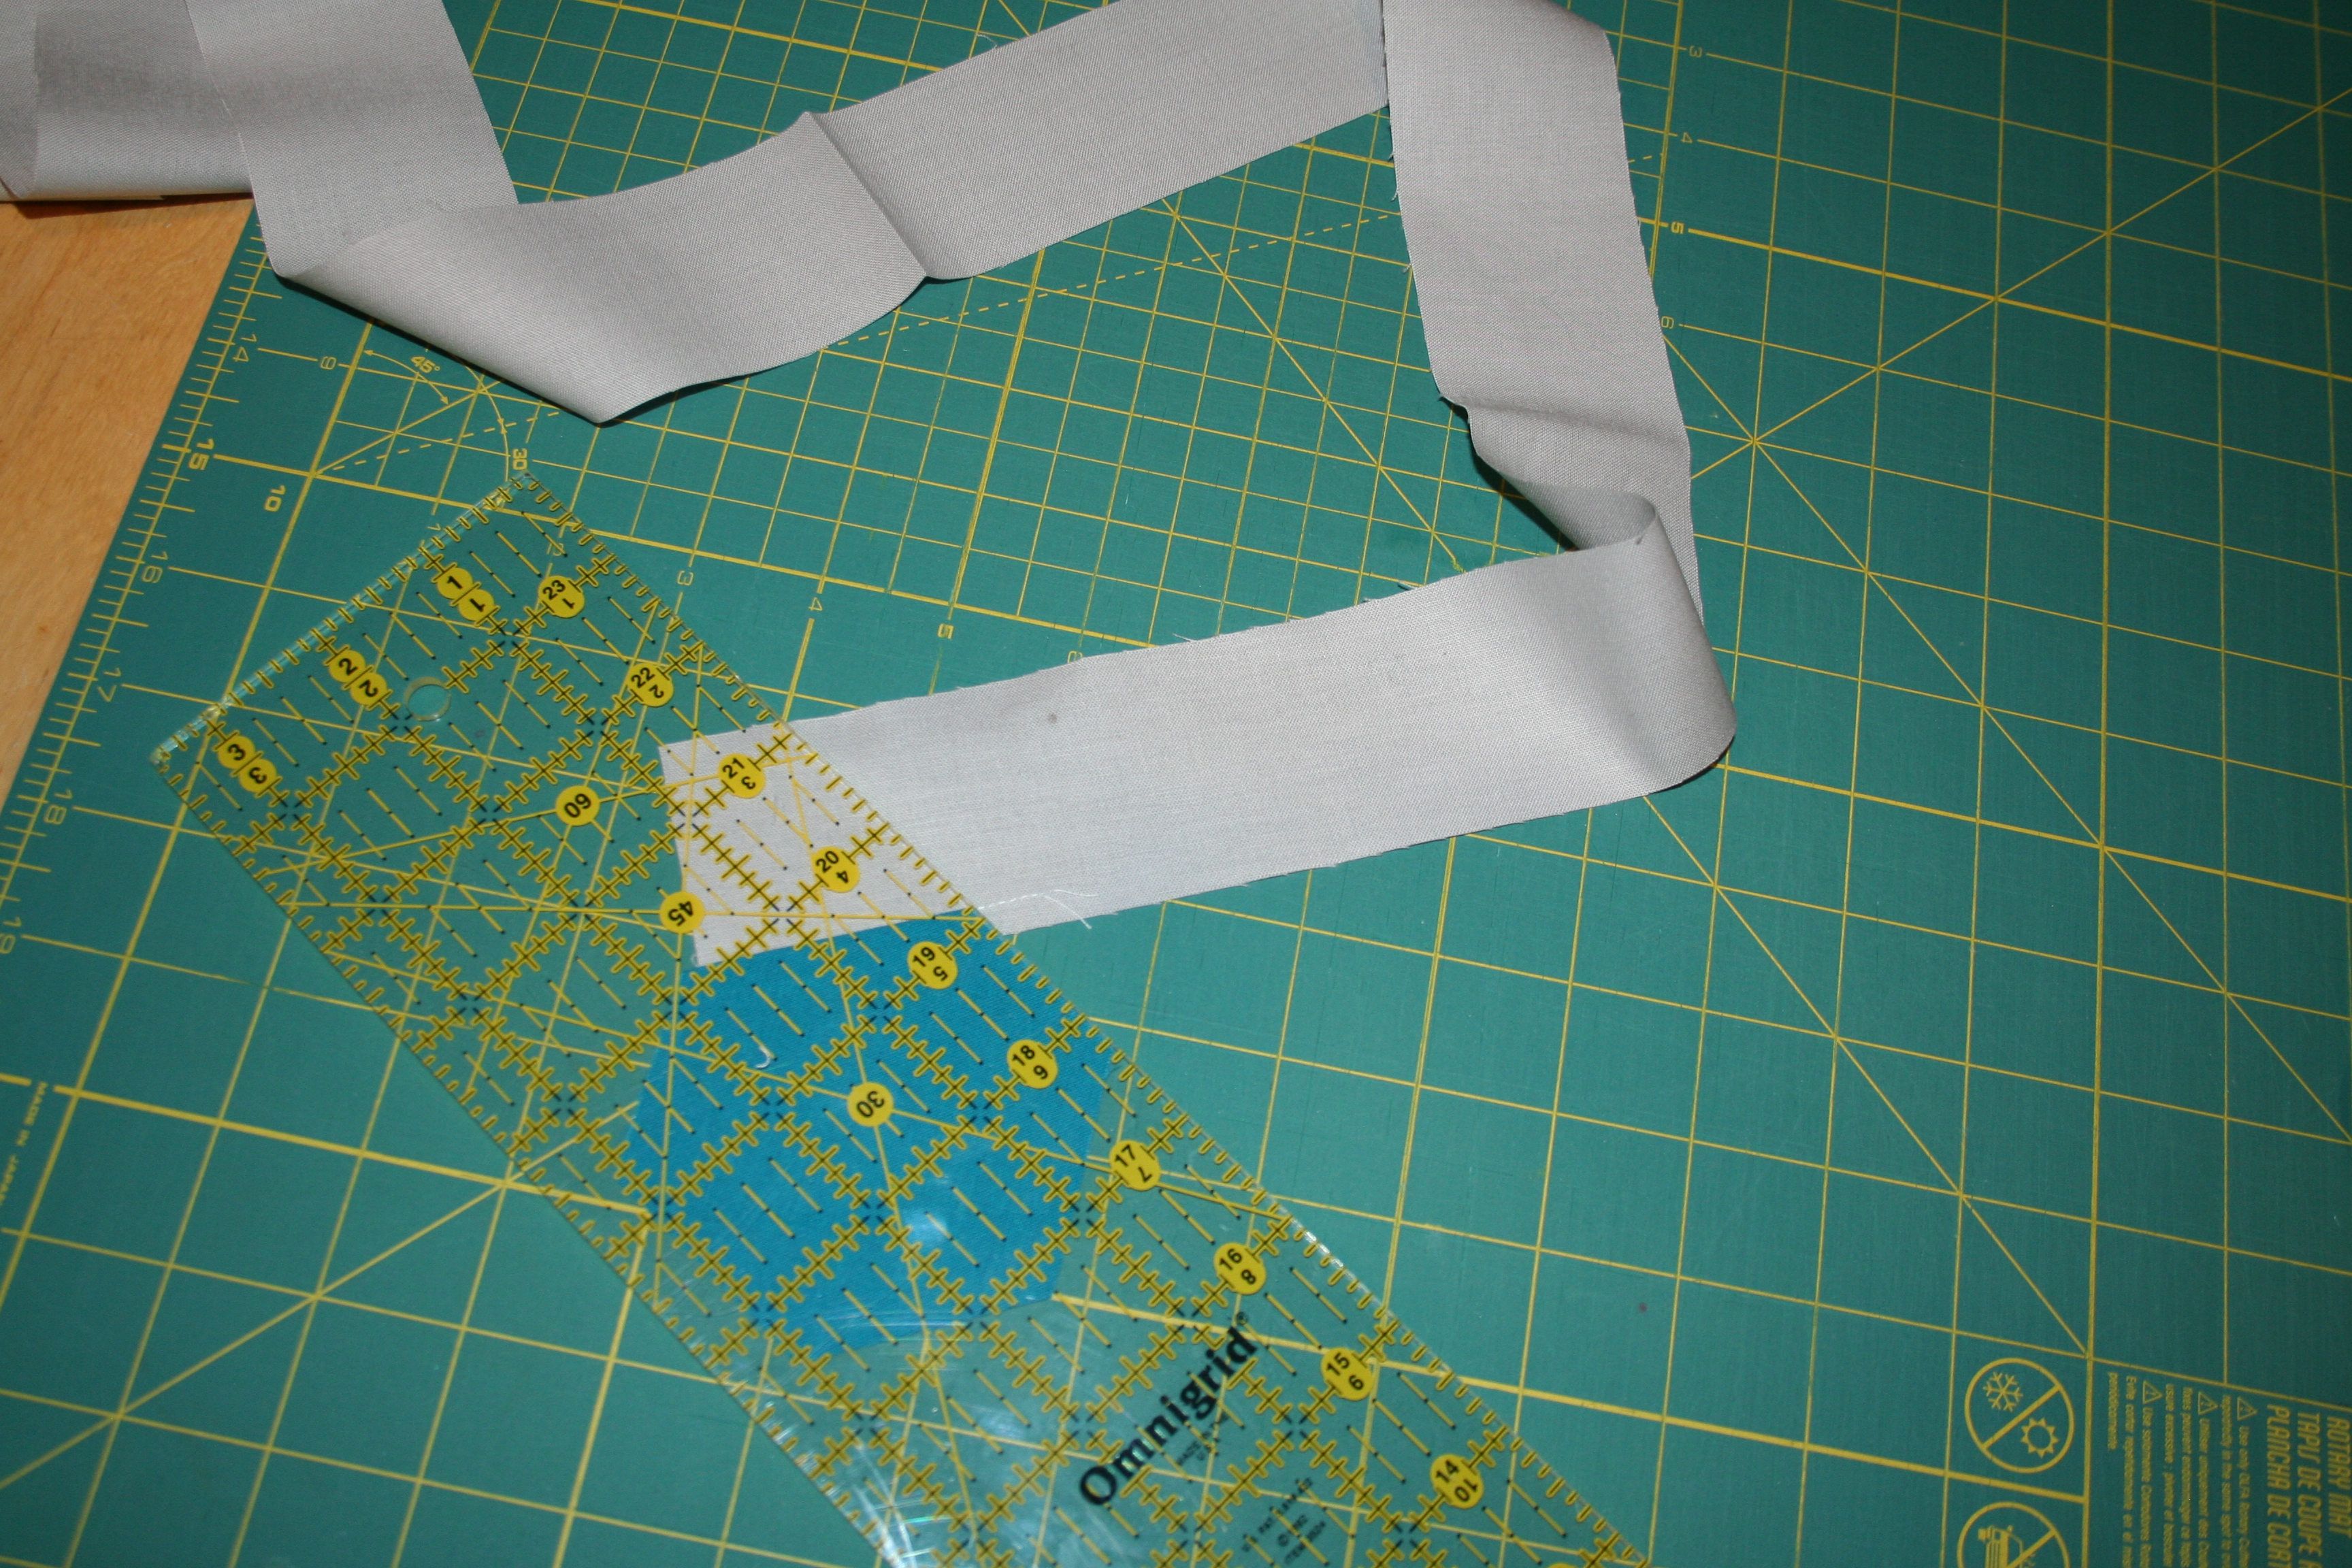
Use the straight line as your next place to align the strip. Repeat with each side, working your way clockwise around the hexagon.

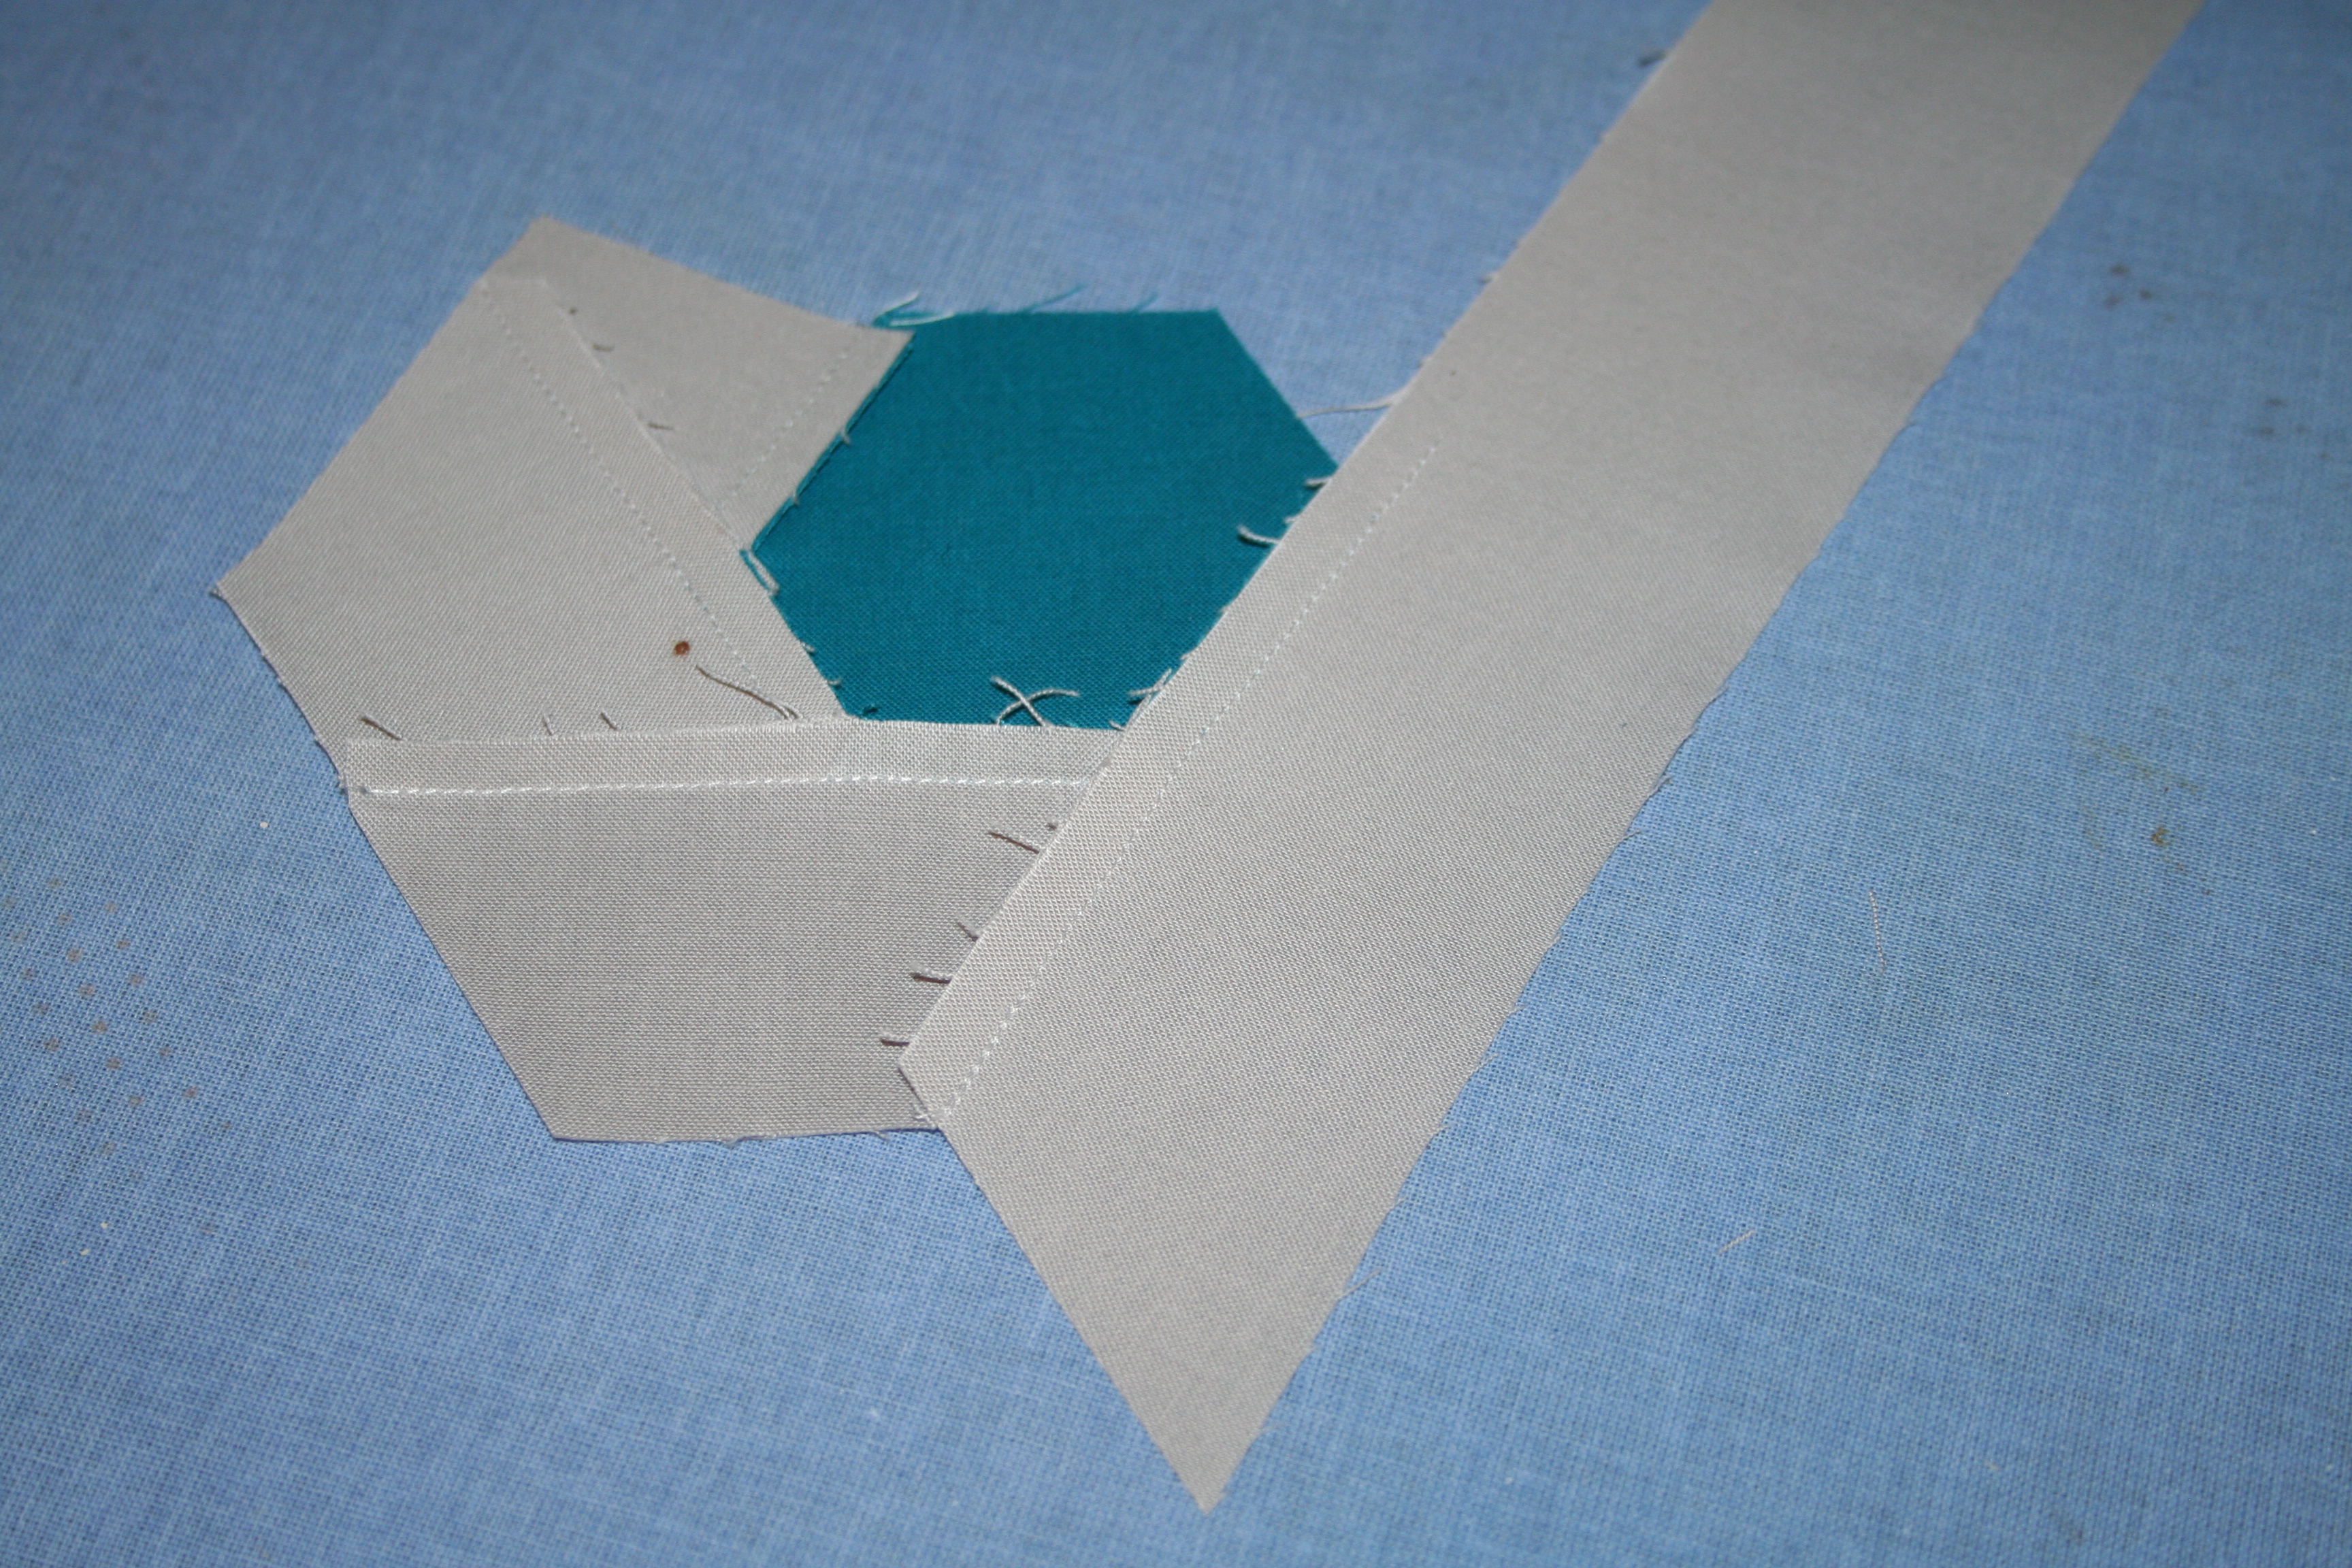
As you go, you’ll be cutting both sides of a newly-attached strip.
As you go, you’ll be cutting both sides of a newly-attached strip. The tiny triangle on the short side…


And the tail of the long side.


The cut before the last side is sewn is one straight line. See how my strip was just a little shy of the corner? That ends up in the seam allowance, but ideally would be flush with the side of the hexagon.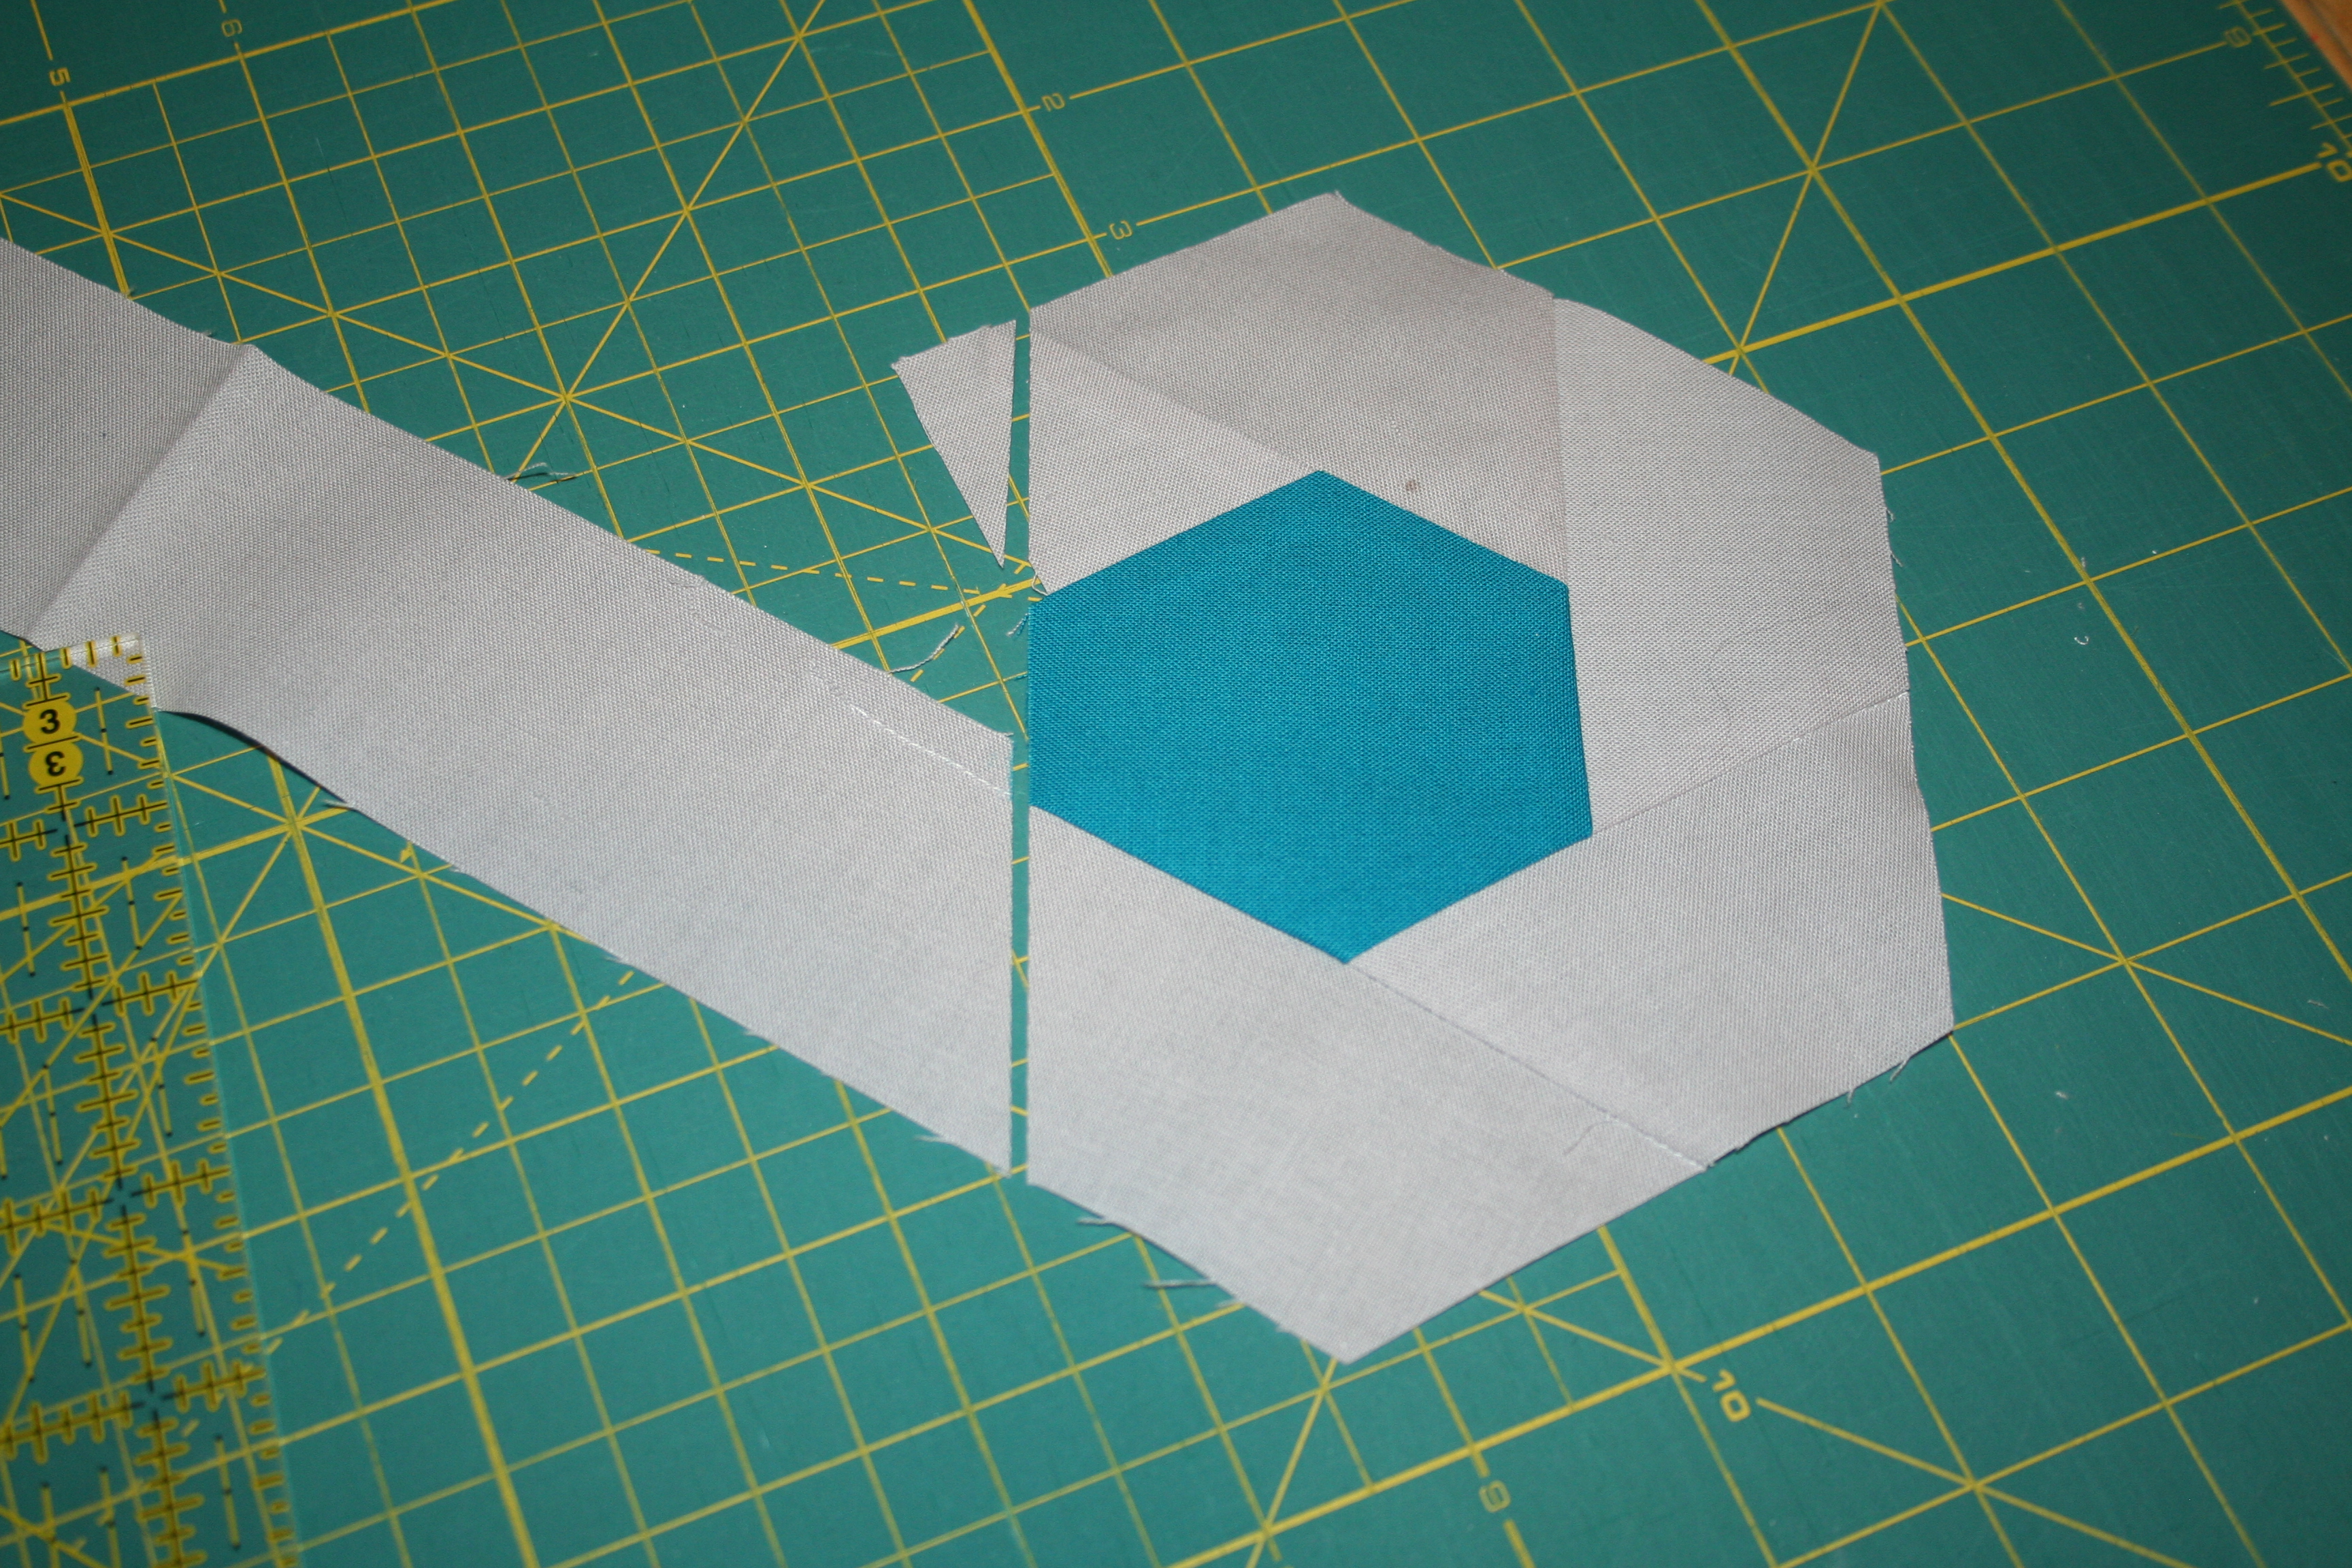
By the end, your original strip will be a little triangle.
For the next ring, vary the size of your strips. I like to aim for contrast in color and strip width. Have fun with it!
For consistency’s sake, I started on the same side for the Tangerine ring:

Align, sew, press and cut. Rinse and repeat. Round and round we go.

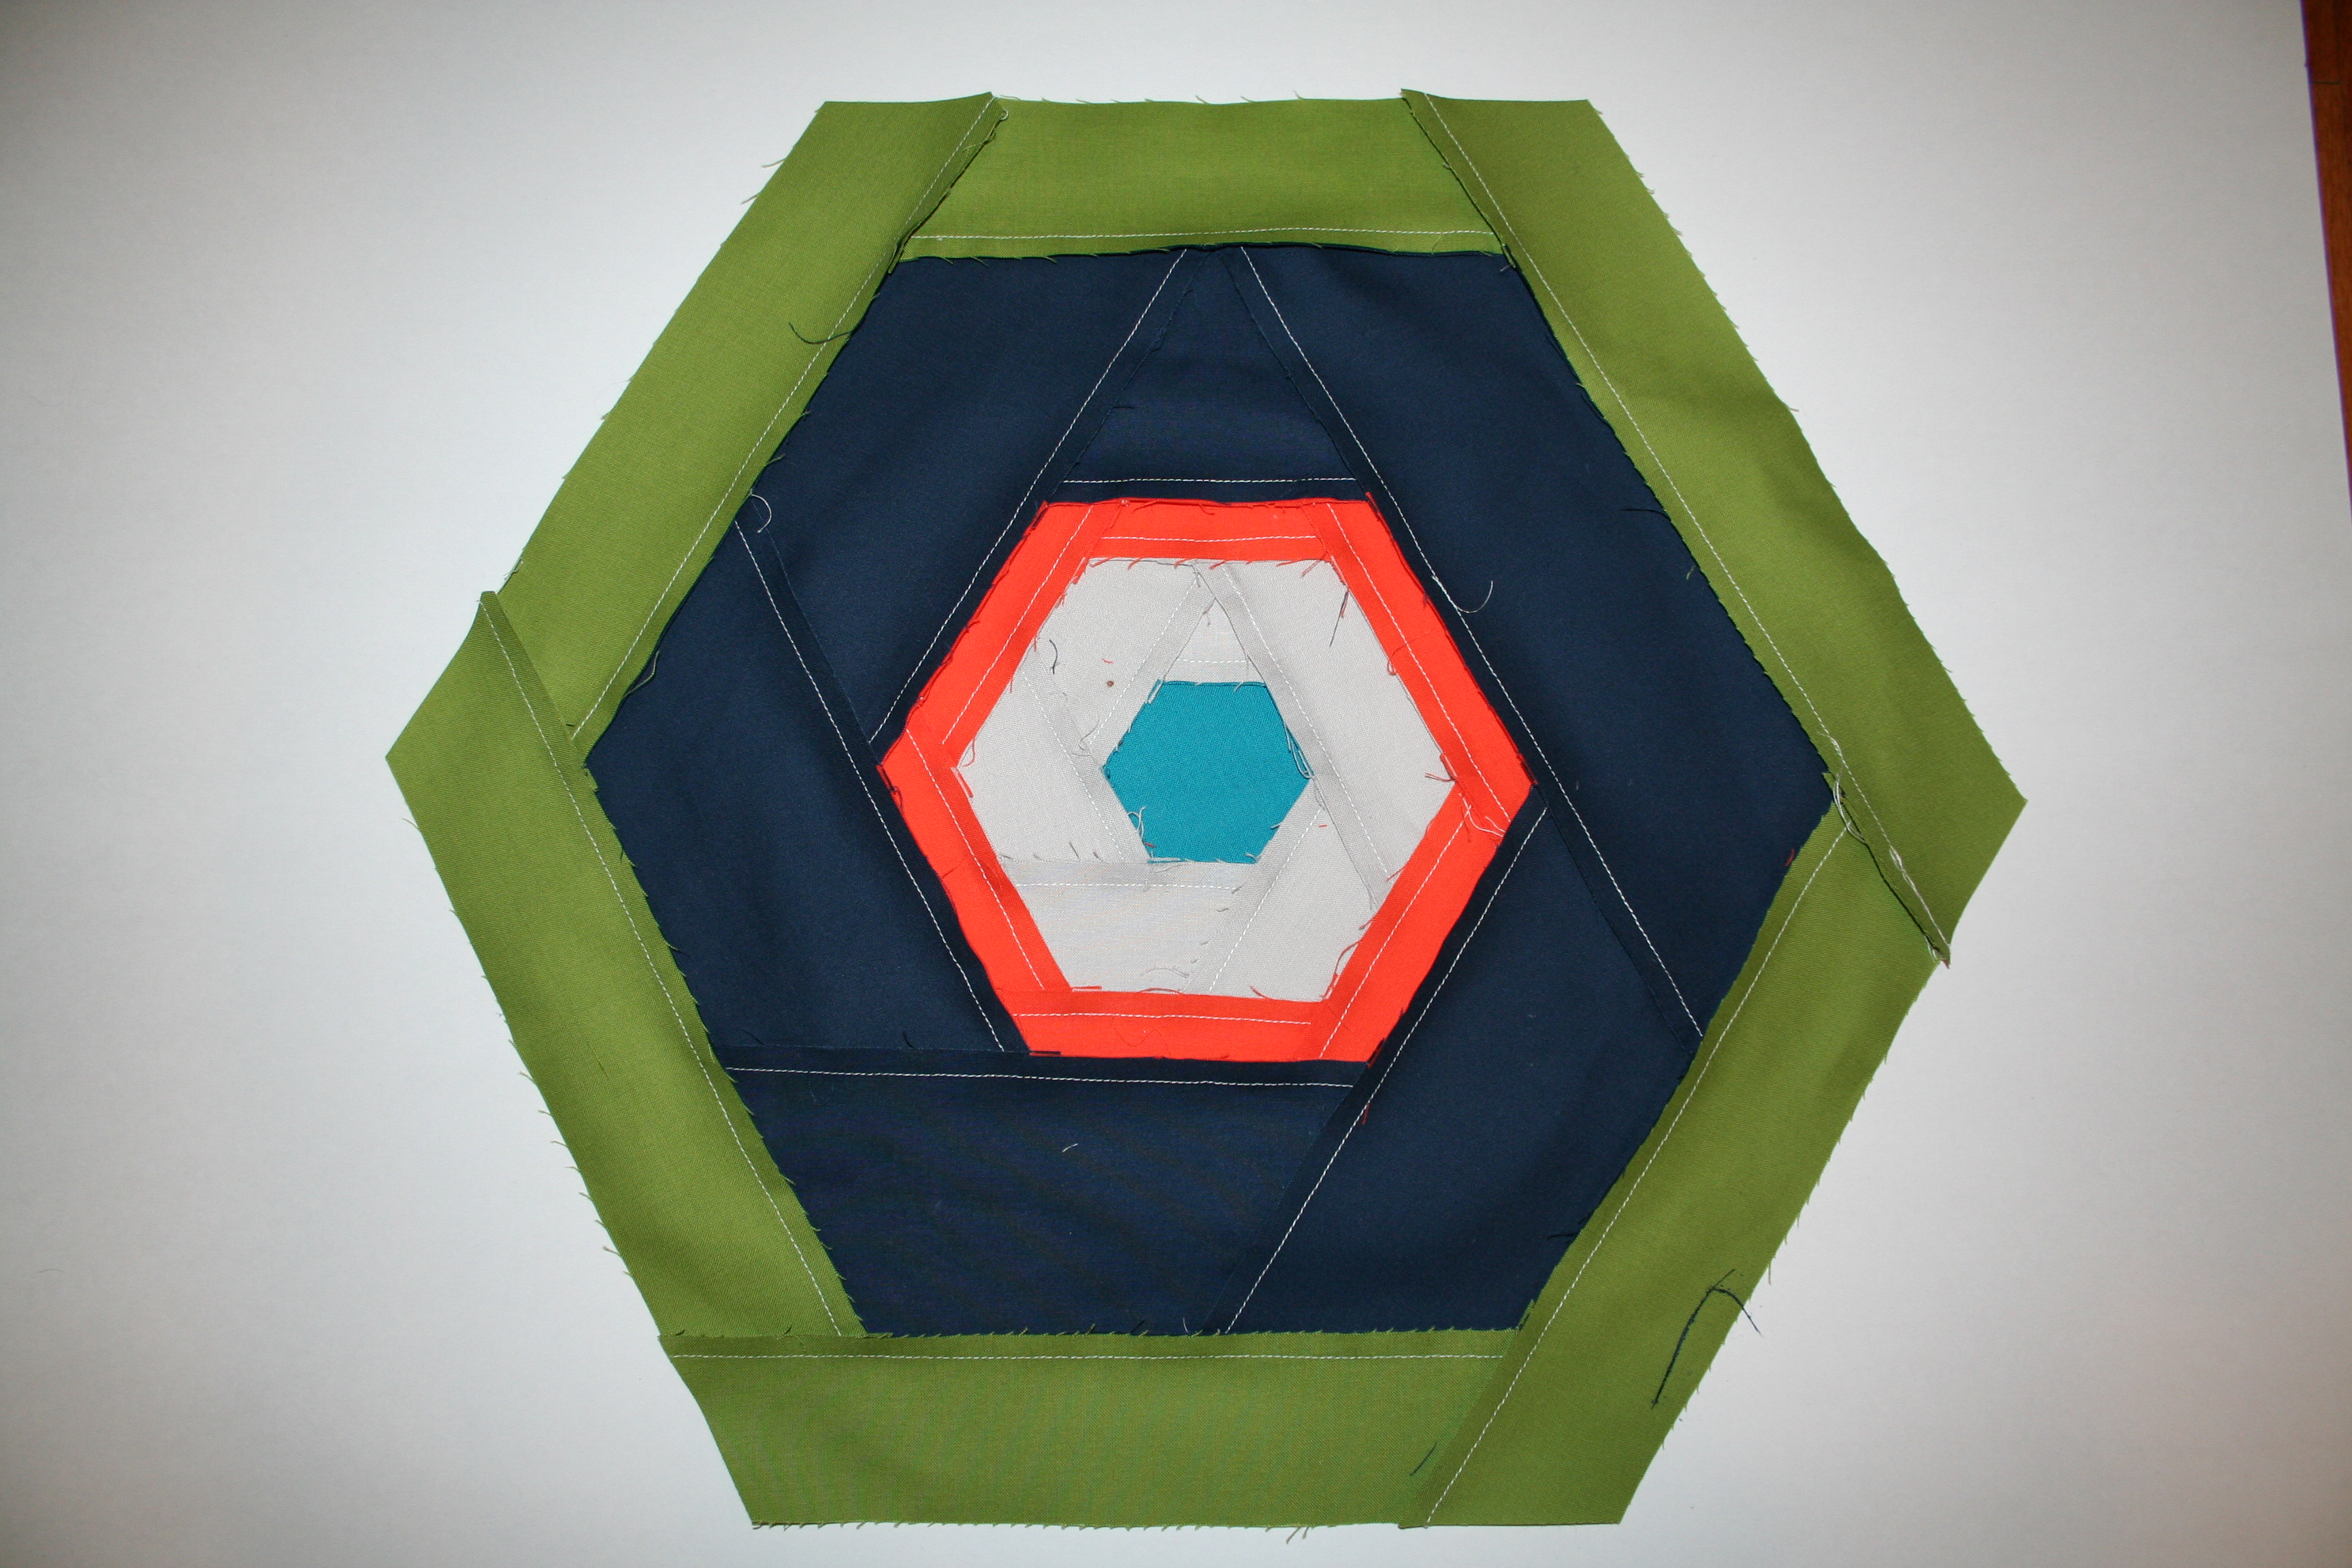
 This is as far as my sample got.
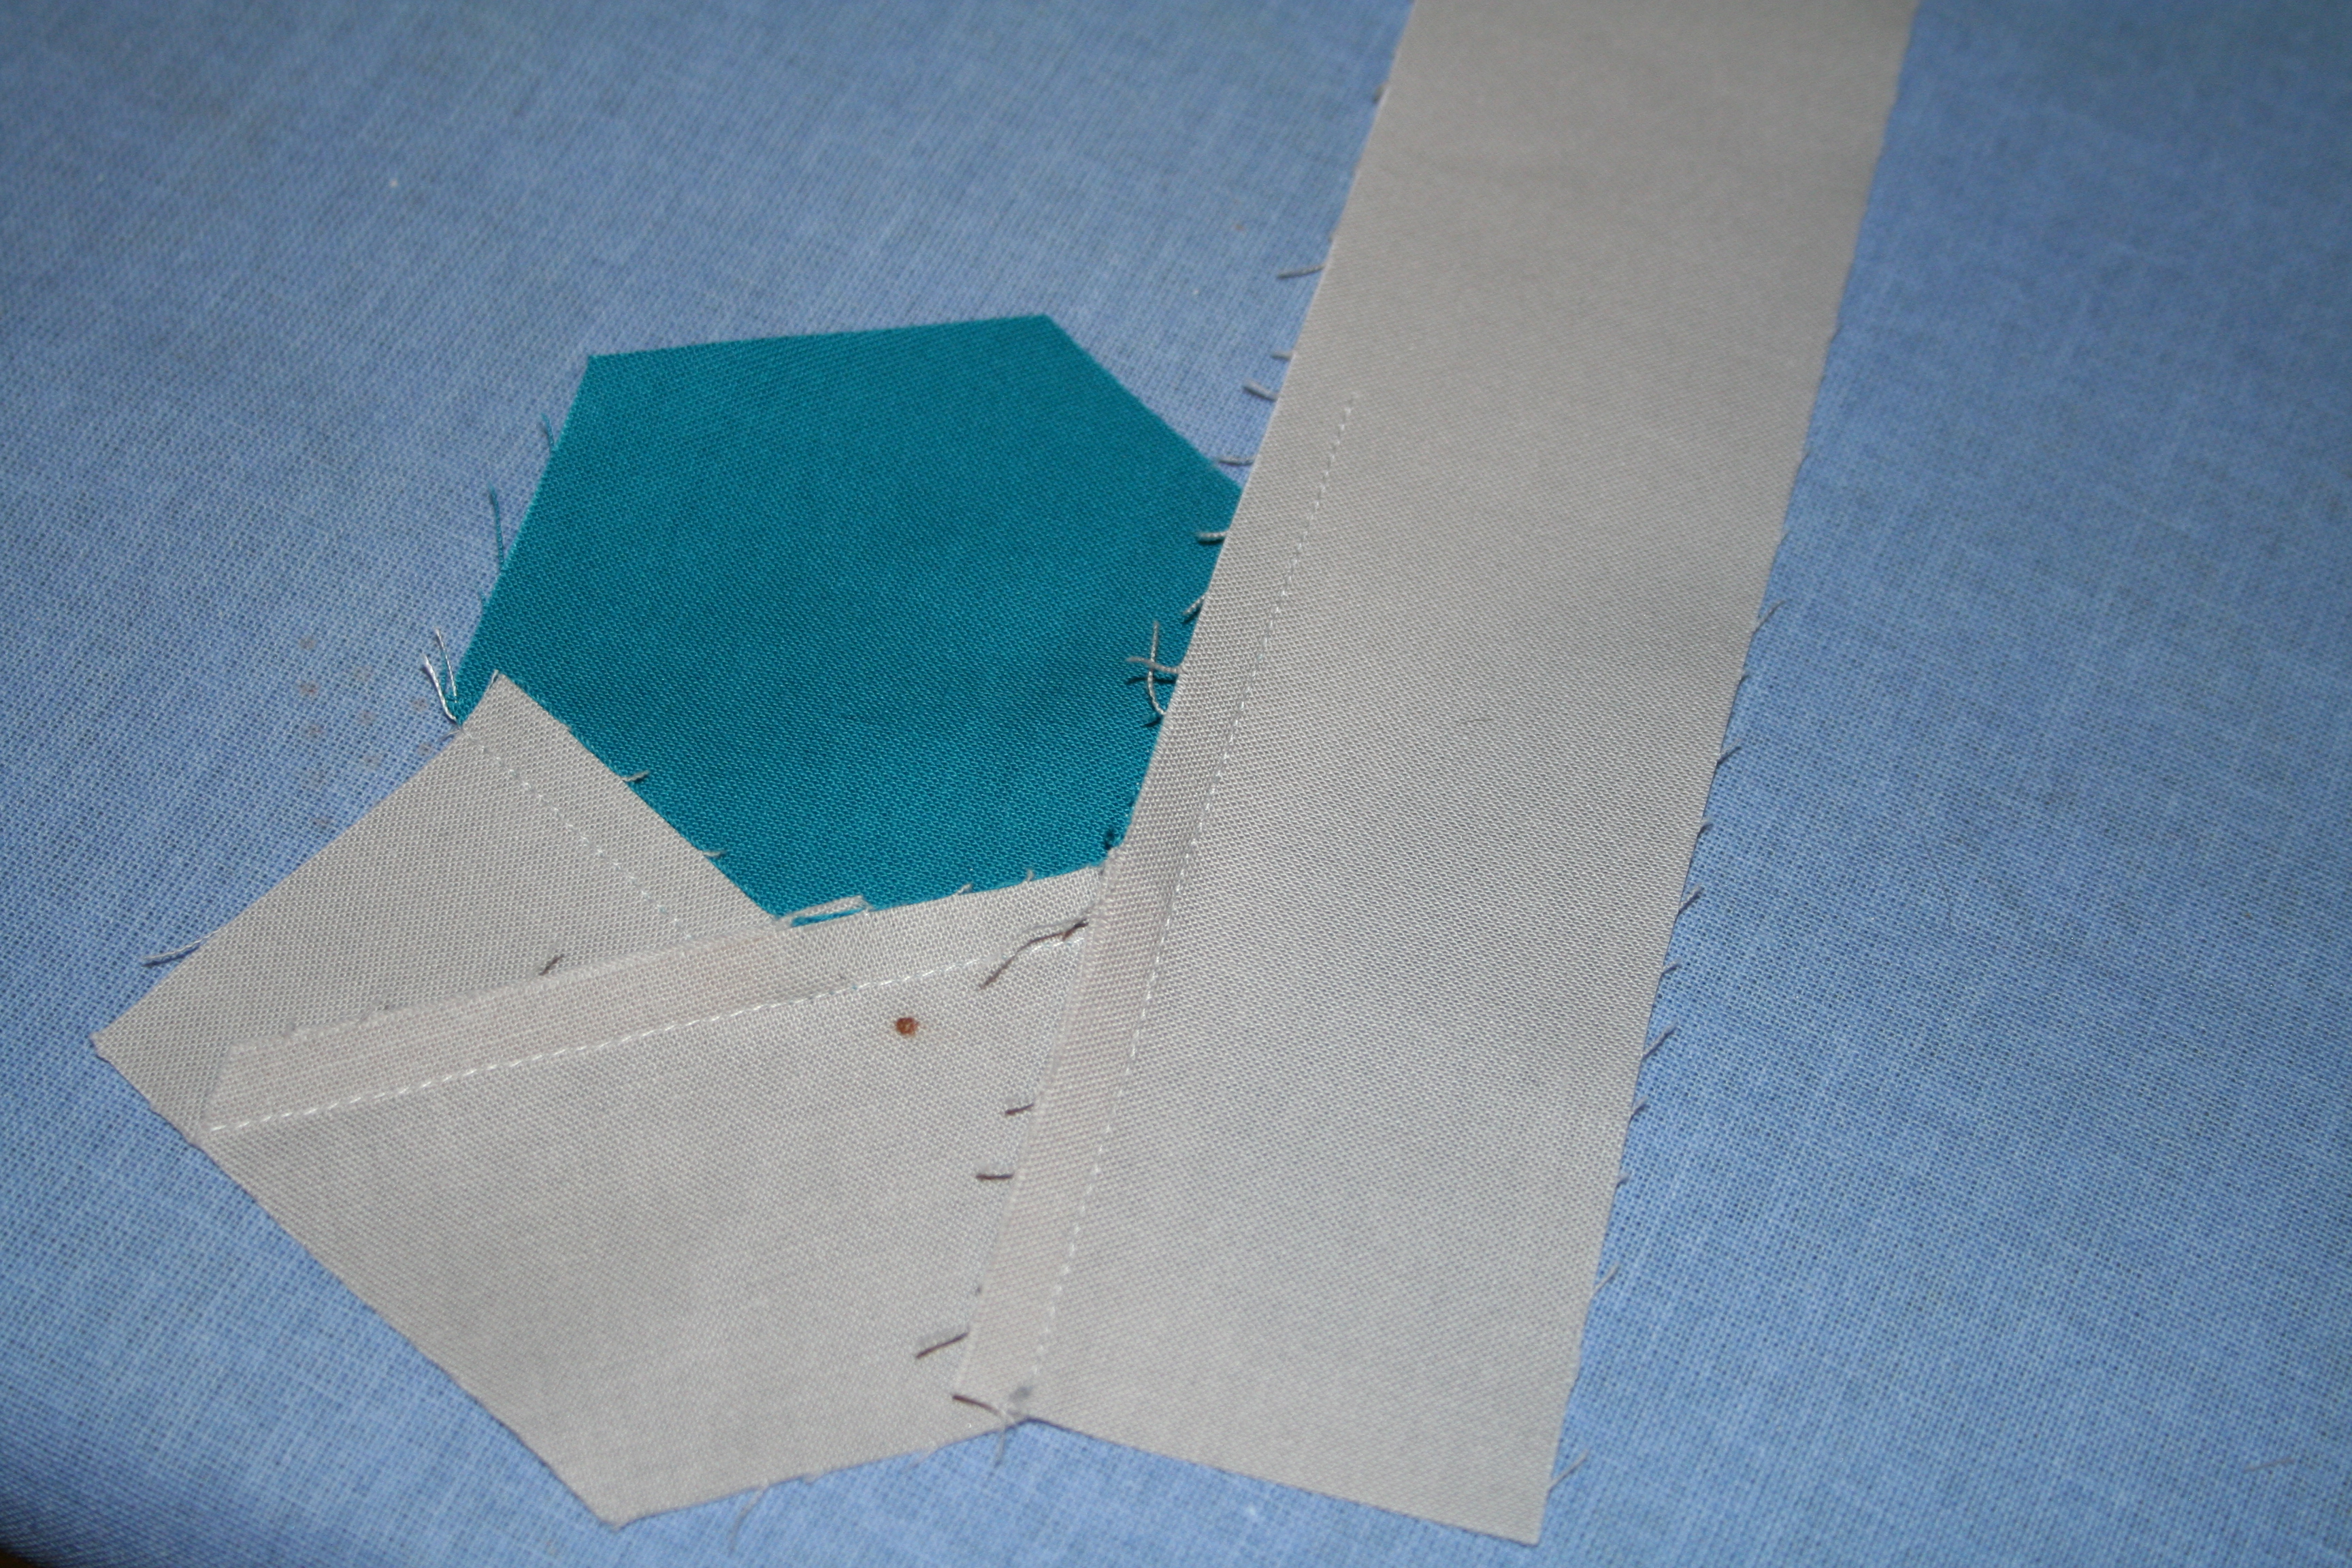
If you keep pressing toward the center, this is how the back should look:
To finish the top, decide on a size for your quilt top, and whether you want to center your hexacabin or set it to the side. If you want it centered, just keep adding rings and square it off when you reach your desired size. (These would make amazing blocks. Choose a size and repeat as desired.) Like I said, it’s improvisational, so do what feels right to you.
If you’re building your hexacabin off-center like I did, add a wide ring (at least 6″) and square off one corner. Then continue to add layers to the top and side, staying true to the angles of the original hexagon. (Pardon the blurry photo. Hexacabin fever! I’ll have plenty of the finished solids top.)

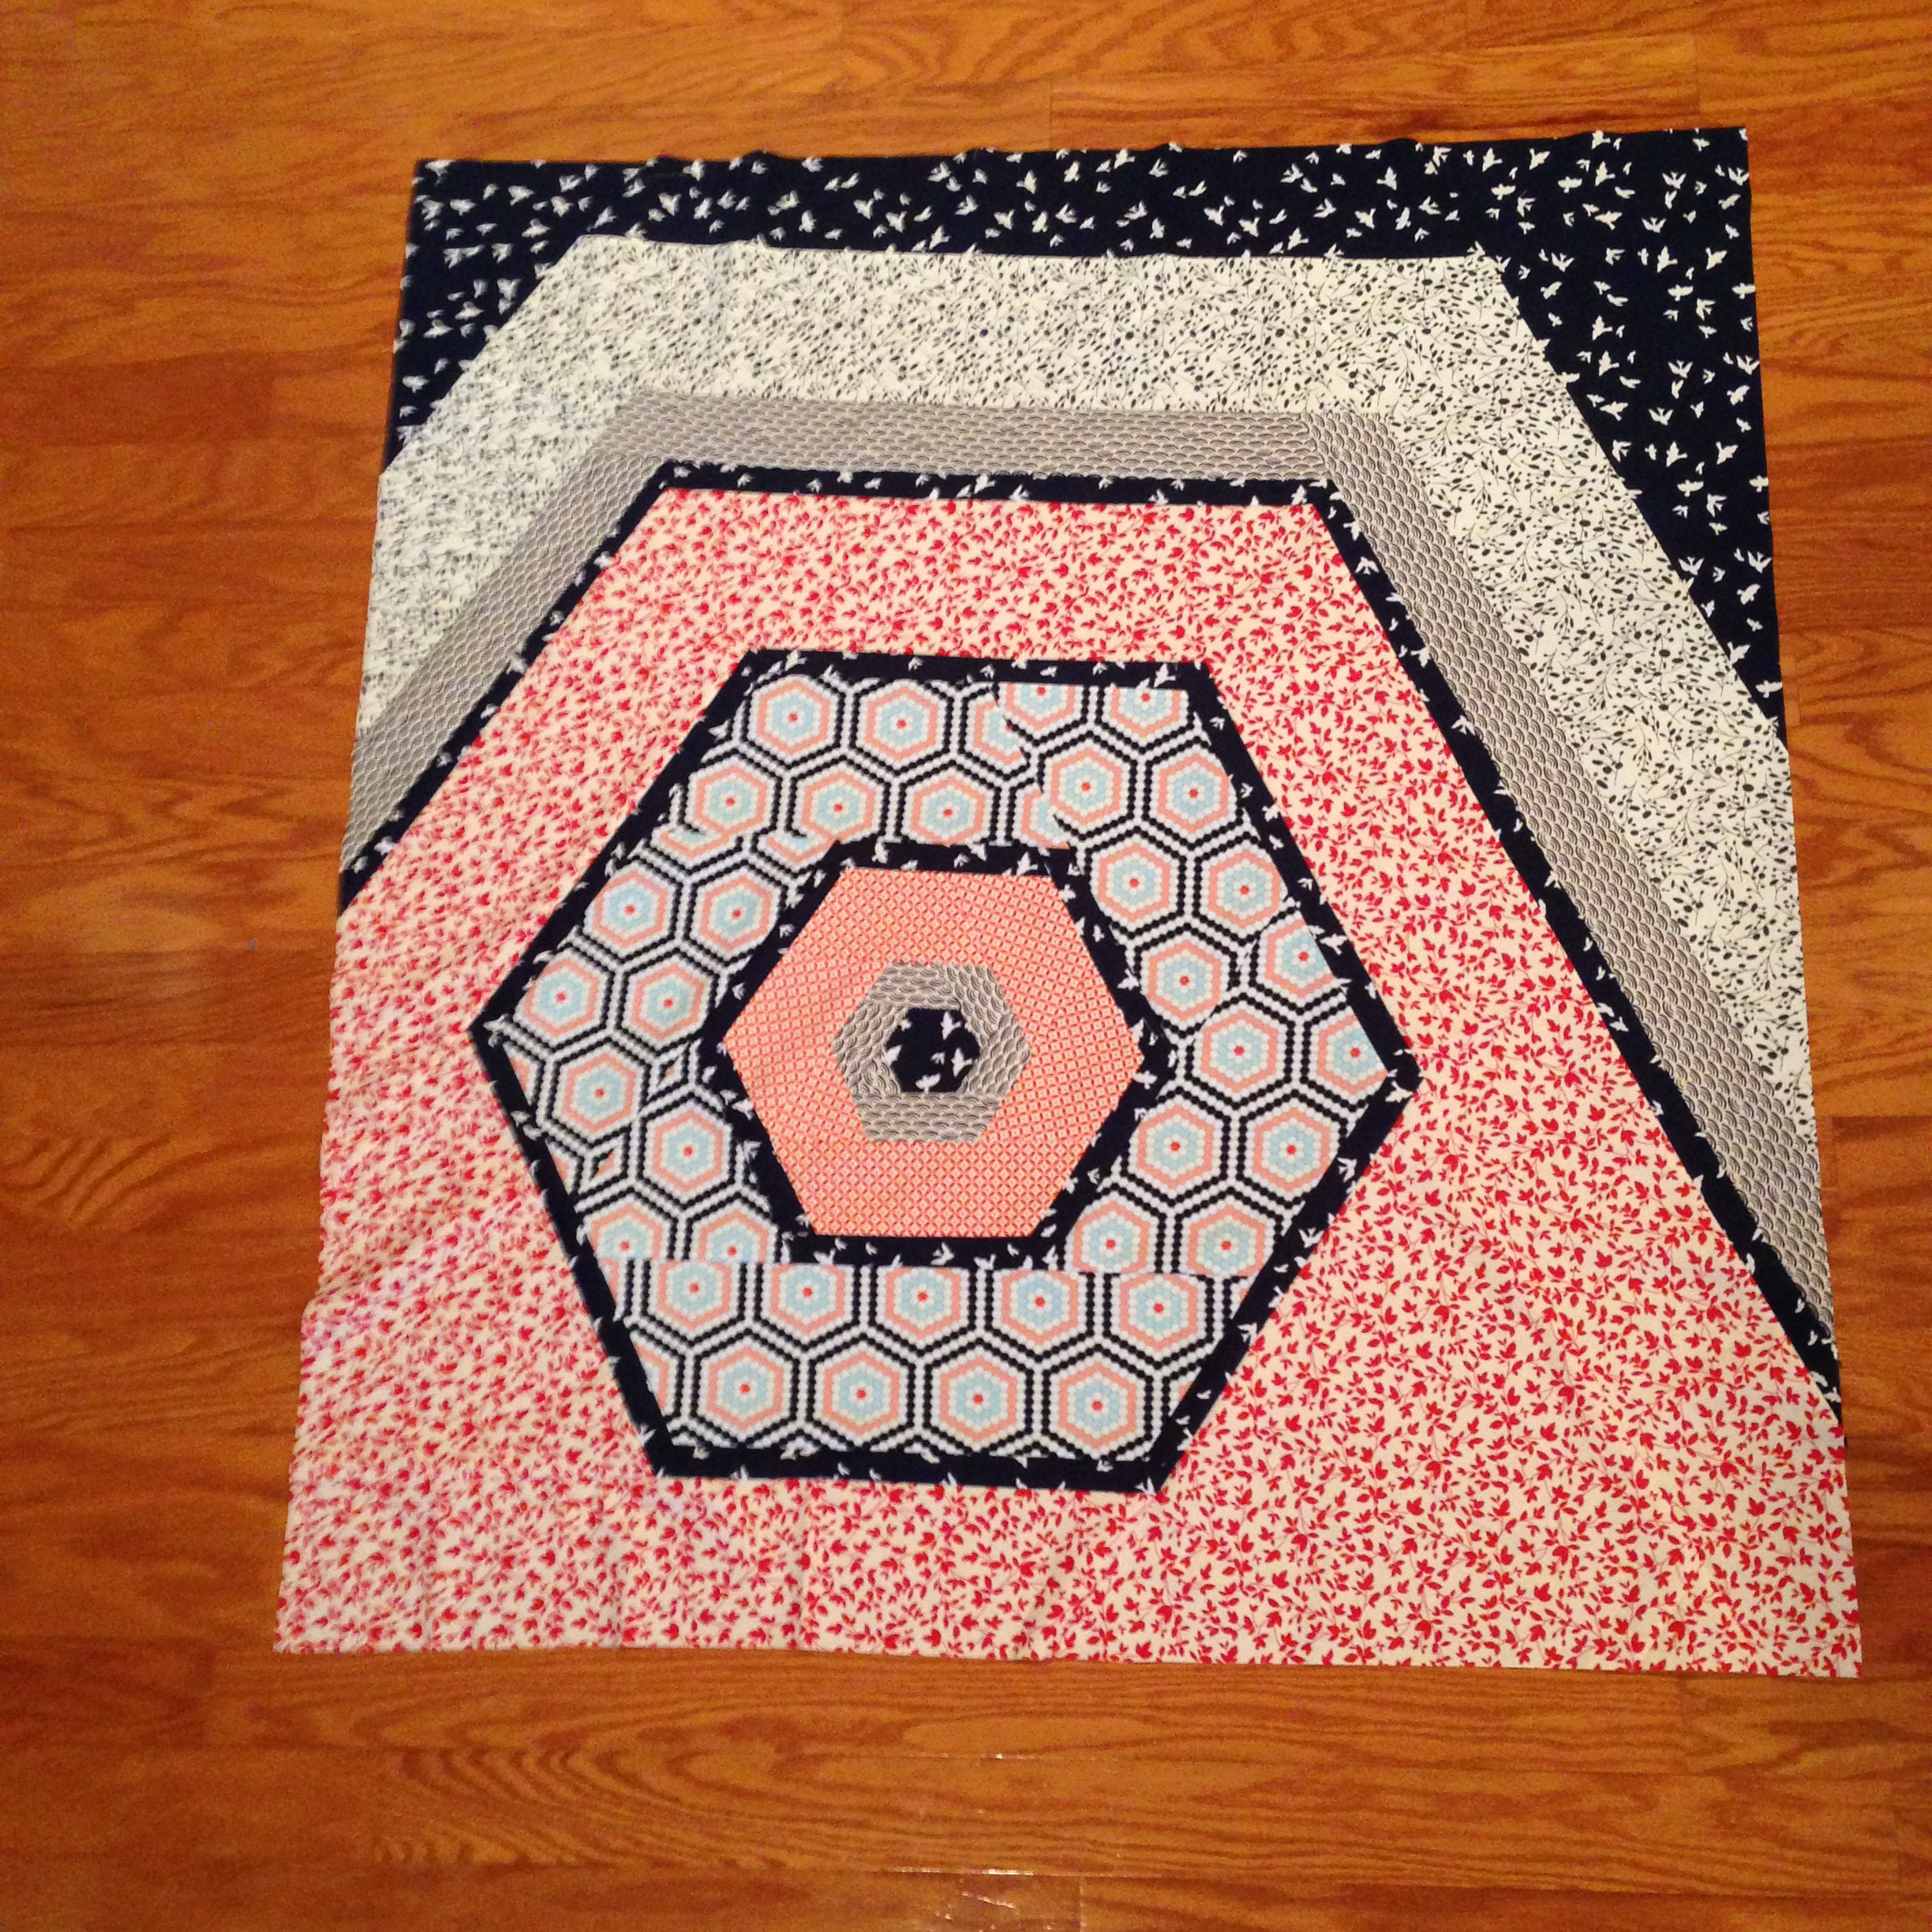
Square off the top and enjoy! I’ll have more specifics on finishing the top as I finish my solids quilt. Let me know if you have any questions! It’s trickier than I thought to explain improv. Catch the fever!
I might try a version where the bands get wider and paler as they go out, to see if I can create some kind of optical illusion. Love your hexacabins, cool idea!
Once you said scrappy I knew what I wanted to do. Ahhhhh. So fun. I can’t wait. I have a few hexagon projects I want to make but I don’t have the patience for right now. Super excited to try this!
I love this idea, and no offense to how cool it is, LOVE it for making quilt backs! Sure, it’s kind of a lot of piecing for a back, but think how great it would be to get a quilt with one of these on one side! And if you make it off center on purpose, then wherever it lands using the long-arm frame is just as good.
Reblogging, and will link to it under Tutorials if that’s okay.
Reblogged this on Catbird Quilt Studio and commented:
I love this idea and Mel has explained it so well, with great pix. Take a look!
Thanks so much Melanie! It is an awesome idea for a back. Simple enough but interesting enough.
Woohoo! Can’t wait to see what you do.
I can’t wait to see!
I love this! You are brilliant!
Pingback: melintheattic
Pingback: The hexacabin quilt | melintheattic
Headed to my workspace to practice these neat new hexacabins. I am a HUGE log cabin proponent so this hexagon shape adds a new dimension to my work. Thank you for figuring it out and then for sharing the technique with the rest of us.
Thanks Lynda! Send me pictures when you’re done– I’d love to see other people’s hexacabins.
Pingback: WiP Wednesday | Wasn't Quilt in a Day
Clever option, I’ve not seen anything like it before 🙂